On a DSLR there is a choice of settings that allow you to have different levels of control over the camera. First you need to consider what you want to do, or to be precise, what kind of result do you want to achieve?
- Av – Aperture Priority – This control lets you choose the aperture and the camera will control everything else automatically
- Tv – Shutter Priority – This control lets you choose the shutter speed and the camera will control everything else automatically.
- M – Manual – This puts you in control of everything.
Aperture priority
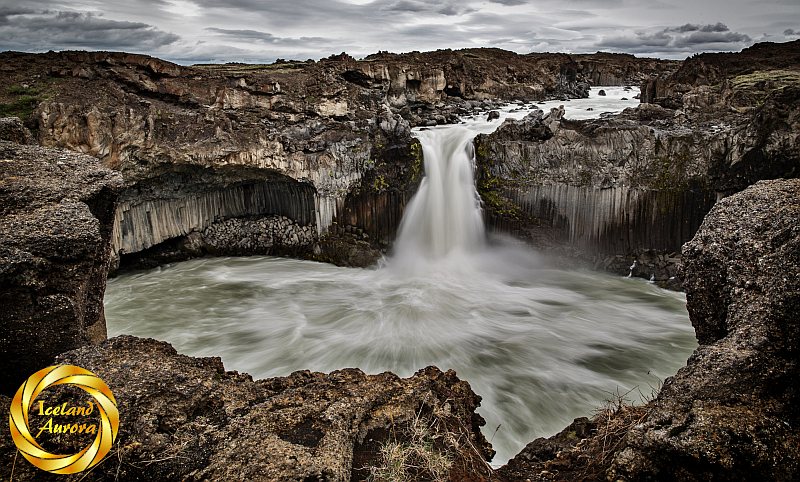
Aperture priority mode is best if you are shooting an image where the aperture plays an important role. Both landscape and portrait photography put a lot of emphasis on aperture. Landscape photographers will use a very small aperture (f/22, f/16 or f/11) to get everything in focus (Deep Depth of Field). Portrait photographers use a very large aperture (f/2.8 or f/1.4) to focus on a very small area (Shallow Depth of Field). If you are shooting landscapes or portraits, you might consider using Aperture Priority and set it to an appropriate aperture. Maybe you want to use the sweet spot of your lens for general photography. Most lenses have their sweet spot (best sharpness and corner detail) around f/8.
Shutter Priority
Shutter Priority would be best suited to capturing action or fast moving subjects. If you are shooting sports, you don’t want a blurry picture so you would need a fast shutter. The light could be changing fast… in TV mode you would not have to worry about your settings, just select a fast shutter time and let the camera calculate the rest. So what is a fast shutter? 1/125 should be fine for sports on a regular lens, but as your lens gets longer, you will need a faster shutter. A 400 lens shooting birds in flight needs at least 1/1000. A long debated subject in Nature photography is capturing a bee in flight. If your shutter speed is 1/1000 second, this would be a long exposure because the bee’s wing needs 1/10,000 to freeze the action.
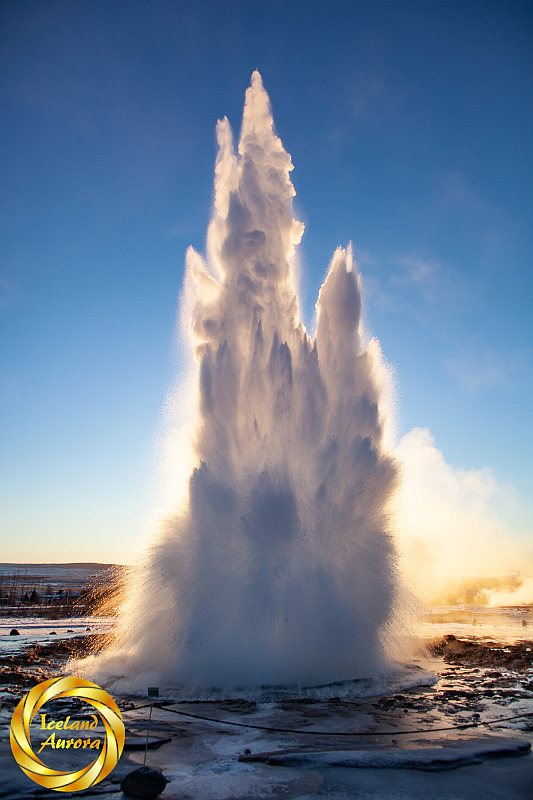
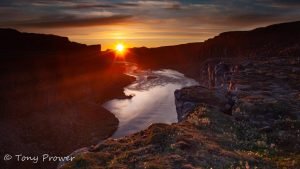
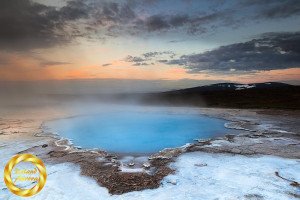
This Strokkur eruption at Geysir was taken in TV mode. I set the shutter to 2000 and the camera calculated that it needed 3.5 aperture at 400 iso. I knew that the erupting geyser would block out the sun and darken the scene, so I set my Exposure Compensation with a plus value.
Semi-automatic modes
Shutter and Aperture priority and the “Semmi-automatic” modes. It is important in these modes to take control of exposure compensation (+/-). This tells the camera to under or over expose the scene, this is your creative control. Once you have you camera shooting with the right aperture or shutter speed, the compensation is the only thing you need to adjust. You do have to monitor the settings. For example in AV mode, you need to watch the shutter speed. In TV mode you have to monitor the aperture. If a value is flashing it means that the camera cannot handle the settings because there is too much light or not enough light, then you need to adjust your settings, or adjust your iso, or add filters.
Manual mode
M-Manual mode is a good mode to learn about your camera. You are in complete control. If something goes wrong it is your fault. I would really recommend using manual mode for some time when you get your camera. I am talking about just for practice, don’t shoot someone’s wedding in manual mode if you don’t know what you are doing! To successfully shoot in manual mode, you need to be able to change the shutter speed and aperture yourself, so consult the camera handbook for this. You can use the light meter in the camera to adjust these settings. With an average light meter, the camera will tell you if a scene is over exposed, underexposed or just right, the beauty of manual mode is that you decide if you are going to under or over expose the shot. This decision can be the difference between a photo and a great photo. I would recommend getting to know ‘Manual’ and ‘Bulb’ mode for Night Photography Basics. This is because it will give you plenty of control and help you learn the basics about photography exposure.
Semi-automatic vs Manual mode…
Choosing a Camera and lens:
Full frame & Crop sensors: Landscape cameras are big and heavy and are “Full Frame” – this means there is no crop so 24mm = 24mm. On Canon cameras, Full Frame cameras only take EF lenses, you cannot use a EFS lens. Normal people buy a Crop sensor camera (Canon 7D), these are smaller cameras, but can be good quality. The crop is 1:1.6, so a 24mm = 38mm (24 x 1.6 =38.4). If you are planning on buying a “Full Frame” camera (5D mark III), then you could consider: Canon 16-35mm, Canon EF 24-70mm and Canon EF 70-200mm (together they cover a big range at high quality) If you are planning on getting a “Crop Sensor” (Canon 70D, Canon 7D), then consider: Canon 16-35mm, or (cheaper/lighter) Canon 17-40mm + Canon EF 70-200mm or (cheaper/lighter) Canon EFS 28-200mm.
Canon EOS 5D Mark IV |
Canon EOS 5DS R |
Canon EOS 6D Mark II |
Canon EOS 90D |