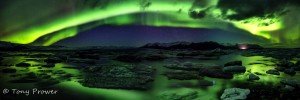
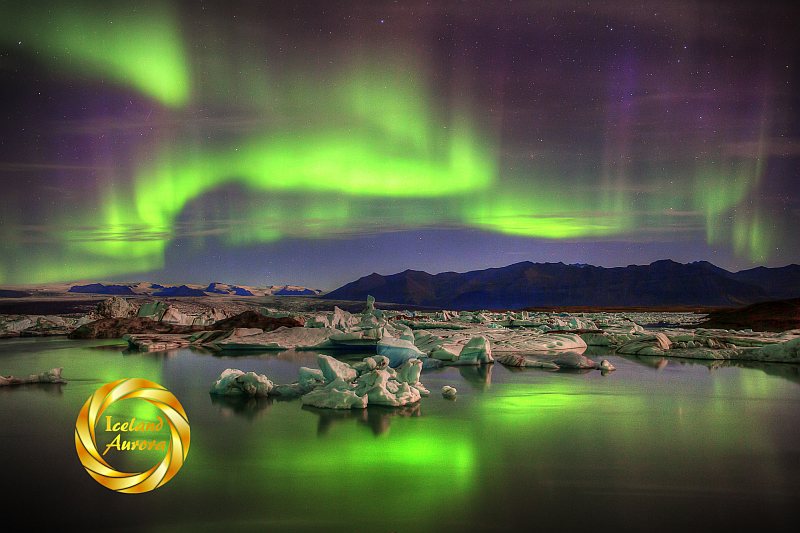
Iceland Auroras
The number 1 requirement for using the Magic Cloth Technique is having a long exposure, so you can control the exposure to different parts of the scene. So when you are in the wonderful position of photographing northern lights, which typically involve exposures between 5 and 30 seconds, the number 1 requirement is already met without having to add filters. The only extra equipment you will need is a straight edge cloth or card, although I have found that a large mitten works just fine.
If your composition includes very little ground, or you are shooting with super-wide angles, then the Magic Cloth is not going to be so useful. The aim of the Magic Cloth Technique is to balance the exposure on the sky versus the ground, so this works best if you aim to include some interesting foreground in the scene.
Standard Practice
Aurora photographs should be taken without filters. Circular filters such as polariser and UV filter will cause concentric circles to appear in your aurora image. Dark filters don’t make much sense because you have invested a lot of money in a fast lens and fast camera, so don’t slow it down. Shooting at night can involve very long shutter speeds, so you can get creative without dark filters, except Grad (discussed below).
I start with a bunch of 30 second exposures at iso1600 and f/2.8, I will introduce the Magic Cloth at various times, such as 20 or 10 seconds until I have found the exposure that works best for the sky. At night you cannot trust your image preview for the correct exposure, if you use this method, you will have badly under-exposed northern light photos. You need to see that the exposure is creeping over the half way line on the histogram and not too bunched up on the left. The histogram is going to be left heavy if it is a night image. Once you have the correct histogram, you can use the preview screen to judge the exposure.
Back to basics:
Learn how to photograph the Northern Lights.
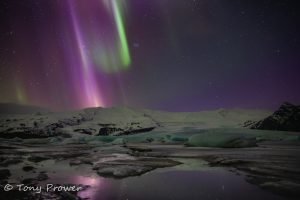
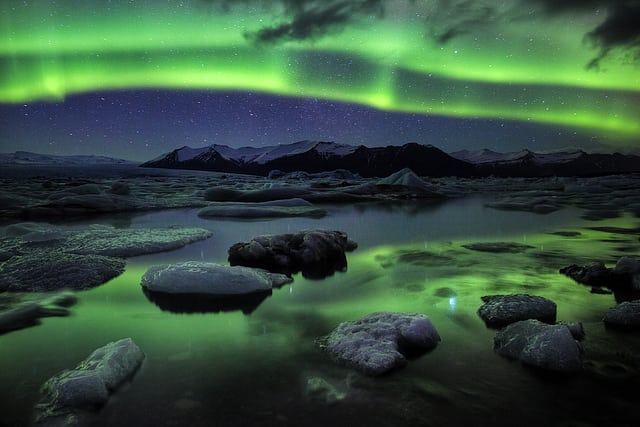
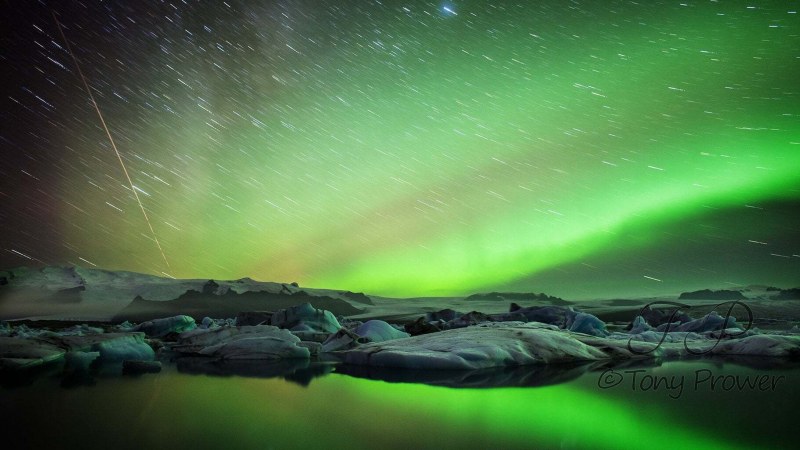
IceBoard
- 24mm
- iso1600
- f/2.8
- 84 sec
This was around 20 seconds on the sky which allowed for nice small star trails and some beautiful cloud movement. The other 6 seconds to carefully expose the ice in the foreground.
2024 Calendars on Amazon
Order online!
Volcanic Iceland
Iceland Waterfalls
Iceland Aurora
Amazon International


Keep it short
Generally it is better to have shorter exposures if your iso can handle it. iso1600 can get your exposures under 10 seconds in strong northern light conditions. To avoid noticable star trails, divide 500 by your focal length (it should be 600 but 500 is easier to do in your head) and this number is the maximum seconds you can expose for. Example, my 24mm (600/24= 25) I should keep my sky exposures under 25 seconds with this lens.
This testing phase is going to give you feedback on your composition also.
Once you have established the correct sky exposure, switch to bulb mode (if you have the remote shutter etc) and after you have exposed your sky, introduce the cloth and continue to expose the foreground for another 3 times longer. For example, if you found your sky to be 20 seconds, you would continue to expose the ground for another 60 seconds (total exposure = 80 seconds). Often the Aurora is brighter nearer the horizon, in this case introduce the cloth slowly from the bottom up (see Magic Cloth & Milky Way). You can double this advantage by doing the reverse when you start the exposure (hint start the exposure with the whole lens covered).
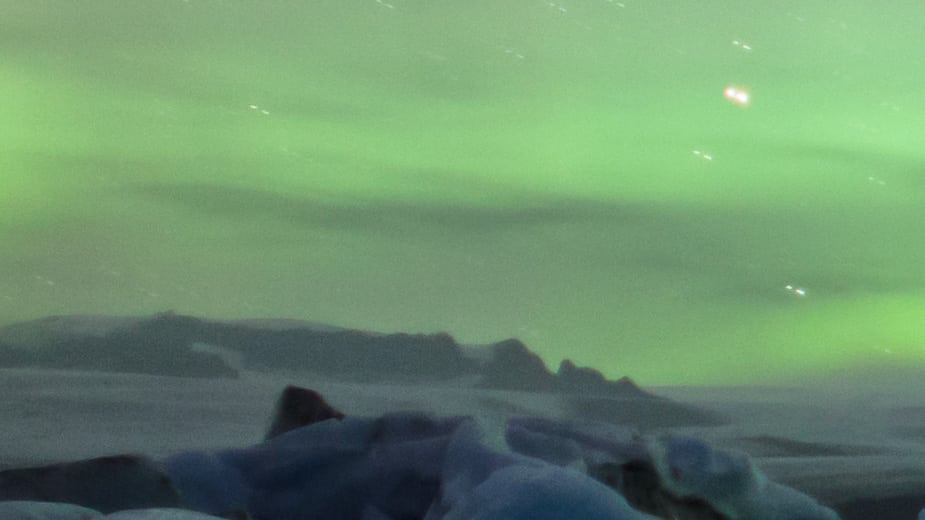
Double stars
It is important not to keep re-exposing the sky. Once you have covered the sky, keep it covered to prevent double star exposures. A few are easy to fix, but you don’t want too many.
Double stars caused by exposing the sky twice.
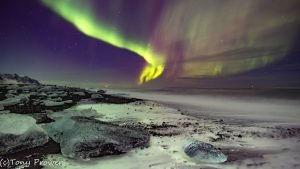
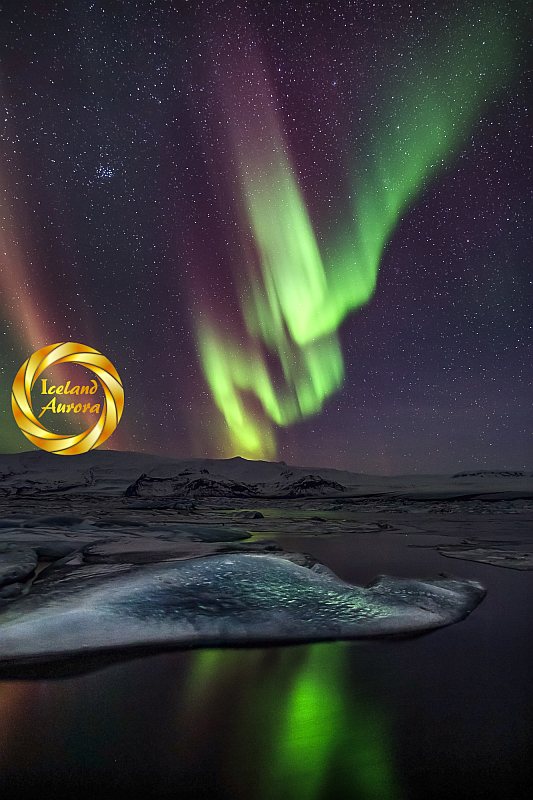
Green Lantern

24mmiso320097 secf/4
This was a moonless night and the ice front of me was so dark (I could just see the reflected green). I chose iso3200 for extra power because I was using f/4 to try and capture sharpness in the foreground. The sky was exposed within 20 seconds and the rest of the 77 seconds I carefully exposed the ice right in front of me with slow movements up to the half way point on my lens element.
Pros
- For balancing the ground and capturing the shortest star trails – no other filter works as well.
- Allows you to prevent burn out – if the aurora flashes brightly you can quickly cover up.
- Creates a dynamic photo in a single exposure– useful for competitions.
Cons
- You will miss a lot of Aurora opportunities in the extra time you are exposing land.
- Waving hand in front of lens for long periods precludes you from other activities (such as making love).
- Not the best method if you want star trails.
Star trails
- 24mm
- iso800
- 415 sec
- f/4
Star trails are possible with the magic cloth, but you have to keep on exposing a long long time after the long sky exposure. A grad filter would have done a better job and given my arm a rest.
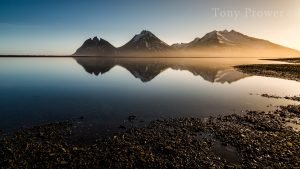
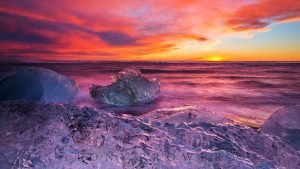
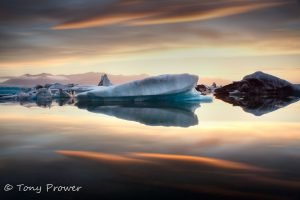
Aurora Reflections
Reflections are normally just one and a half stop difference from a sky, so it is not necessary to expose 3 times longer. Double the time will normally give you a good balance.
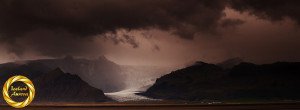
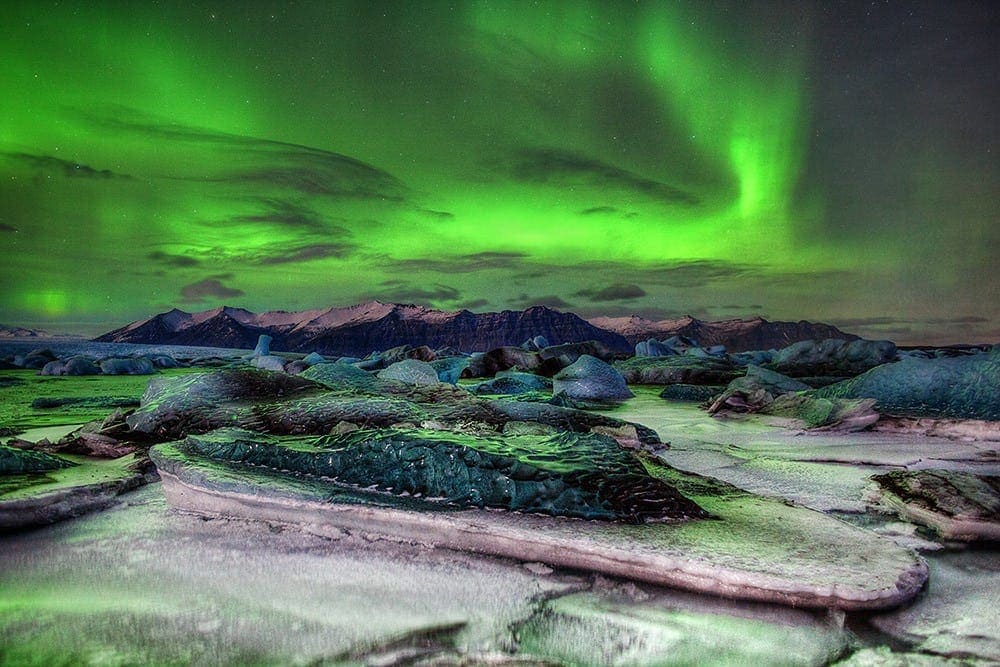
Iceland Aurora Opportunity
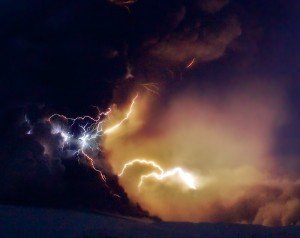
Often, photography in Iceland has to be opportunistic. The greatest obstacle for photographers is also the biggest danger to tourists: the weather! Often we have to just accept what is given to us and count our blessing that… “It could have been a lot worse”. But Iceland photography wouldn’t be the same without some mention of the weather. Even if the plan is to shoot Aurora Borealis over the Glacial lagoon at Jökulsarlon, the photographer in Iceland sometimes has to improvise.
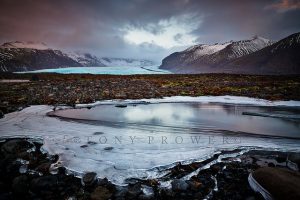
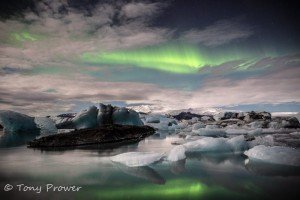
Turn your obstacles into features

A disappointing cloudy night, but one of my quotes is “turn your barriers into features”. In this case the clouds were the barriers, and quite disheartening when you want to see auroras.
But look at the results! The lake part of the scene has a beautiful smooth reflection and those ice bergs sit there so pretty. That cloud movement feathers over a green soup of a sky behind it, giving plenty of hints of northern lights.
Photography Gear:
Be sure to choose the right equipment for Night photography. A lens with a Some lenses are too large, such as the Nikkor 14-24mm. For low light and night, this lens is fine, but dark filters for day time Magic Cloth photography becomes complicated.
Canon pro-DSLRs are perfect for Night photography.
- Great features and total manual mode
- Excellent live view can fine focus stars!
- Important features can be changed with external buttons and dials.
- A little Red light on the back lets you know you are taking a shot. (useful at night)
Canon 5D – full frame |
Canon EF 24mm f/1.4 l |
Gitzo Carbon Fiber Tripod |
Infra-red Remote Controller |