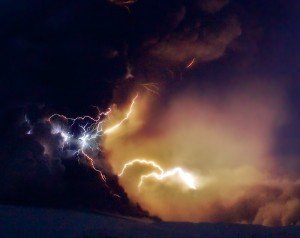
After photographing Northern lights, some of the topic my customers regularly discussed was the issue of catching colours and the huge differences between what they witnessed and what their camera recorded. The main difference was the increased colours captured by a long exposure compared to the 1 or 2 colours actually seen.
You will see lots of pictures of the Northern Lights, but it is the ones with colour which can’t fail to impress. The colour tends to dominate that green line which normally dominates aurora photographs, or should I say green line aurora photographs dominate? This article is all about increasing your chances of a colourful result, but before we get there, let’s have some guesses from you.
What do you think are going to be the 3 main things to do to get colourful auroras?
3 top tips for colourful aurora photographs
- Really dark night
- Experiment with iso and shutter speed
- Processing techniques
Private Northern Lights Tours
Darkness is a place
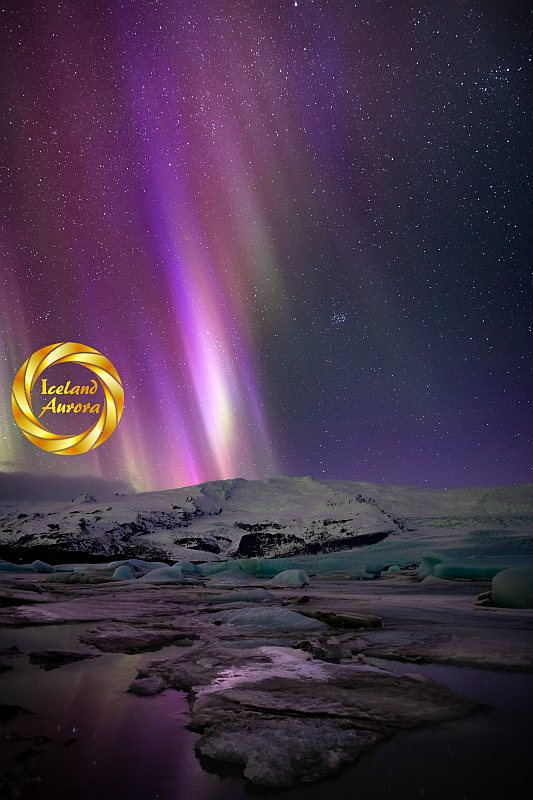
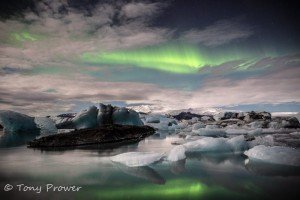
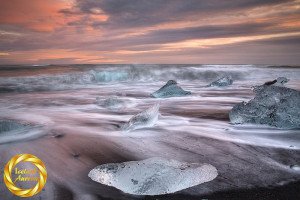
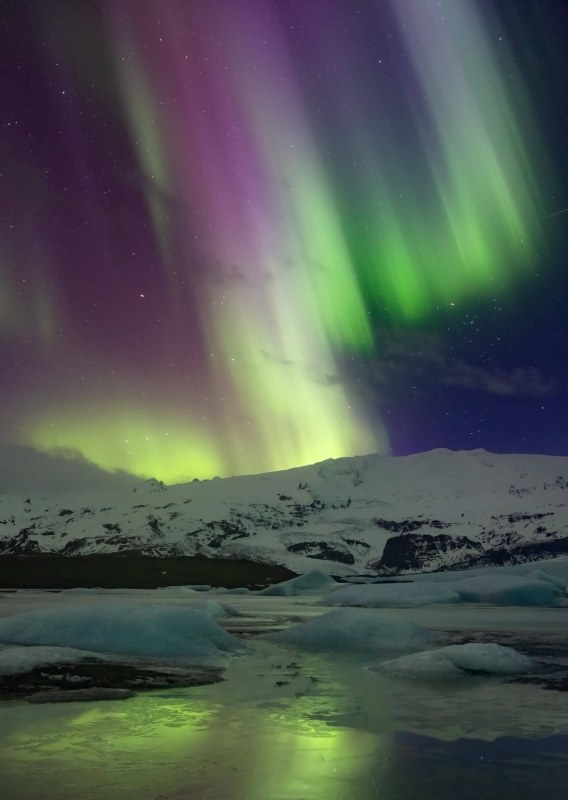
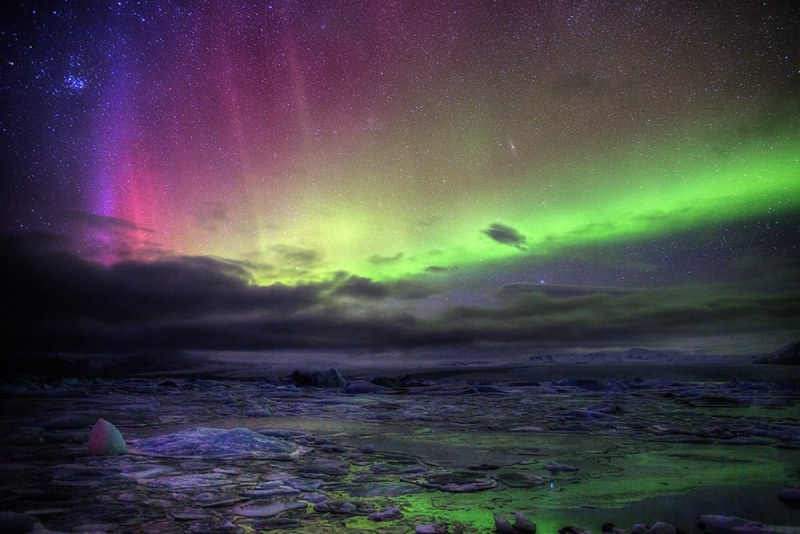
For a really dark night, it is important to eliminate 2 common sources of light pollution; cities and the moon. Luckily ‘cities’ are not so regular in the aurora belt, but the light from a city can be seen over 100 miles away in a long exposure. The moon is a strong source of light pollution and you will note that Northern lights photos that are taken on full moon nights are only ever green. The light pollution doesn’t allow the deeper colours of the aurora to come through because they are way weaker than the greens. So, on a new moon night at Jökulsarlon Glacial lagoonMix it up
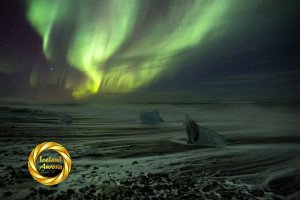
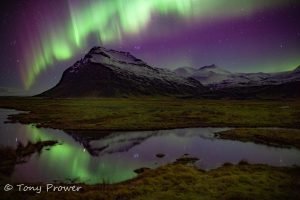
If the aurora is very bright, then it is good to mix up the settings a bit for some variation in your photos. Maybe start with iso 1600 f/2.8 and 5 seconds, they try iso 800 for 10 seconds. If you have the time, try iso 800, f/8 for 2 minutes. Each will have a different colour profile, but the shorter exposures will be more stunning with better separation of colour.
Tonal Curve
Post processing a Northern lights photo usually involves a tonal curve adjustment. By boosting the high mid-tones and low highlights, you can introduce the full range of colours into your photograph.