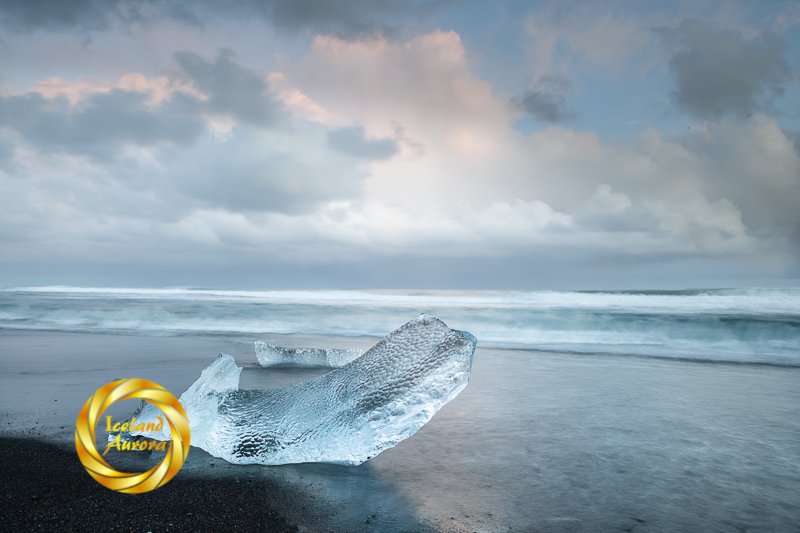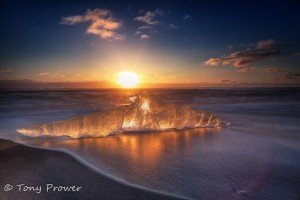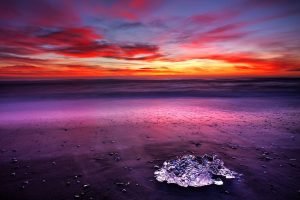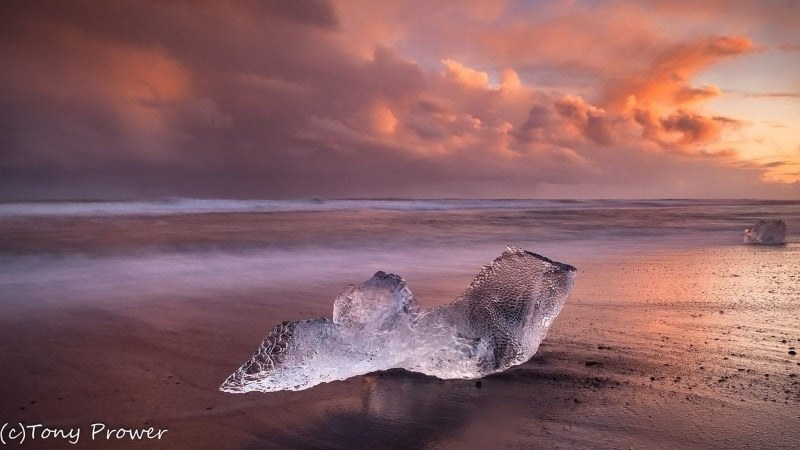
Taken on November 5, 2011 at The Diamond Ice Beach (known as Breidarmurkursandur) near Jokulsarlon glacier lagoon.
Camera settings
- ƒ/11
- Focal length: 24 mm
- Exposure time: 20 seconds
- ISO:100
- Mode: AV mode with + 2 stops over (compensation +/-).
- Focus: f/9 hyperfocal mark. Focus is almost hyerfocal with slight biased to foreground.
Winter photo tour to Jökulsarlon lagoon and Ice Beach. After enjoying the glacier lagoon for the afternoon, we managed to catch some sunset colours on the ice beach. Fortunately for us, there were some amazing ice pops.
Background Story
This photo was taken early November on a two day Jökulsarlon tour. I was taking some photos without an ND filter and some shots with. This is one of the shots with the Neutral Density filter – which creates a slight rose tint. This was one of the last photos of the session and everything fell into place when the sky reached it’s best.
Aperture
Because I was not so close to the foreground ice (about 8 ft) f/11 was chosen because sharpness can easily be achieved throughout the scene from the Ice to the sea. Beyond the edge of the sea, sharpness is pointless because the clouds and waves move during the exposure.
Composition
The composition challenge was putting my camera into the right position to ensure good proportions of sea, ice & sky. The sky is constantly changing and you need to be able to predict the movement and keep shooting, because you cannot press rewind. For the ice and beach I placed the ice slightly to the left because I felt it was pointing toward the right – this way the ice is pointing into the scene.
Next I made sure there was a comfortable space around the ice, so that I wasn’t crossing any horizons or overlapping other ice. I kept the edges of the ice well away from the horizon by having the camera quite high. It is ok to cross the horizon and have a part of the ice going into the sky, but I don’t like to have the edges of my subject being close to another significant line.
Focal length
I might have been able to get closer to this ice with a 50mm. This would have captured more detail on the ice and a more intimate feel. My 24mm, however, captured more of the sky and plenty of rich detail in the ice. On the beach, I would normally decide on the focal length by the state of the sky. For example, if the sky was dull and grey, my 50mm lens would have given me a tighter frame with more details in the ice.
Magic Cloth
Long exposure = 20 seconds.
This sort of exposure time allows a couple of seconds exposure on the sky. So after 2 or so seconds, I dropped the cloth and was quite heavy with it – covering most of the scene for most of the duration and only executing slow careful upward movements to expose the ice and beach.
Because there are light colours throughout this scene, the photo could have easily been taken with any filters or cloth. The cloth burned the foreground a little and dodged the sky. This is favourable in post-processing because you are retaining all the highlights in the sky which can handle a bit of shadow boosting if needed (because it is not an area of detail. The well exposed foreground can handle extra contrast which works well in a detailed foreground.
Thanks for Reading!! Don’t forget to share!!
The Technique:
Pick a big cloth like a large sock, or the same size black card. Should be large enough to totally cover the optics. Better to choose a Dark Cloth. A dark colour is best. Use any shaped cloth, as long as you can get a straight edge. A mouse mat work well for large lenses.
Set the 2 second self timer so that you can press the shutter and get your cloth ready. I usually lower the cloth very quickly to capture the sky and bring it up slowly & carefully. This upward motion will expose the foreground and middle ground more.
Camera settings
Start with an ND filter or wait until it gets dark for a for a longer shutter speed, then over expose the image by 2 – 3 stops. I generally used Aperture Priority set at f/6.3 – f/11 with +2 stop compensation. I used live view with center-weighted average for metering.
Magic Cloth is easier with a longer Shutter speed. 2-5 seconds requires a fast, but smooth movement to burn the sky within a reflex time (Karate Chop). 5-10 seconds allows for a controlled exposure of the foreground.
My Camera Gear
Canon 5D – full frame |
Canon EF 24mm f/1.4 l |
Gitzo Carbon Fiber Tripod |
B+W 77mm SC 106 ND |
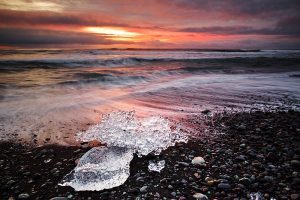
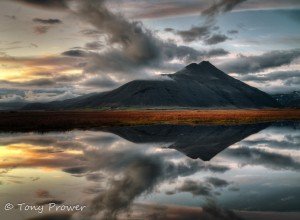
Variation