Background Story
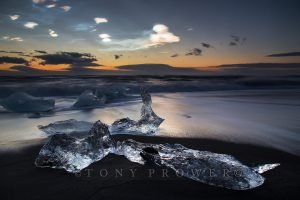
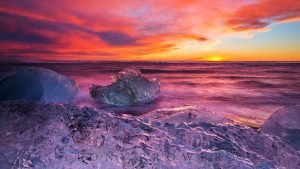
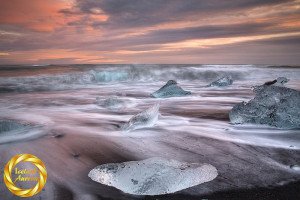
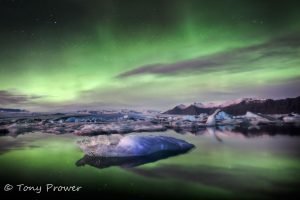
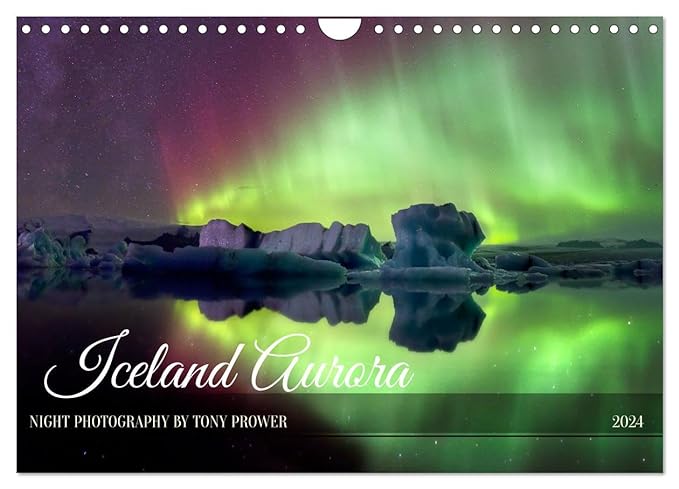
The otherworldly nature surrounding the huge glaciers in Iceland add an air of mystery to most photographs. The edge of the ice age is so alien to most of us who live in the more populated zones of the Earth. This alien landscape becomes even more bizarre at night because everything becomes ghostly through a long exposure. This is the best place you could possibly stand to photograph the Northern lights. Once you have captured floating glacier icebergs with an aurora reflecting in the still lake, it is difficult to top.
Aperture
I often use f/2.8 for Northern lights photography. On an f/1.4 lens, the f/2.8 is fairly sharp. There is slight coma in the outer edges, but most stars come out crisp and sharp.
Composition
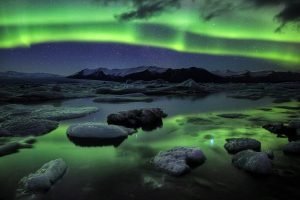
The floating ice in the lower part of the image resembles an angel’s wing. This is my centrepiece so I placed it in the lower third intersection (roughly speaking – no guidelines). I wanted to include a lot of sky to capture more aurora, but also wanted space below the angel’s wing for the reflected northern lights to shine. I adjusted my tripod height so that it was possible to see the mass of ice behind the angel’s wing.
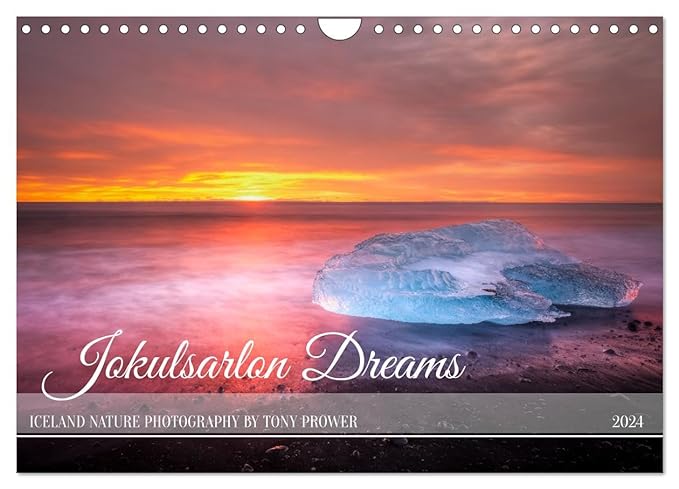
2024 Calendars on Amazon
Order online!
Jokulsarlon Dreams
Iceland Aurora
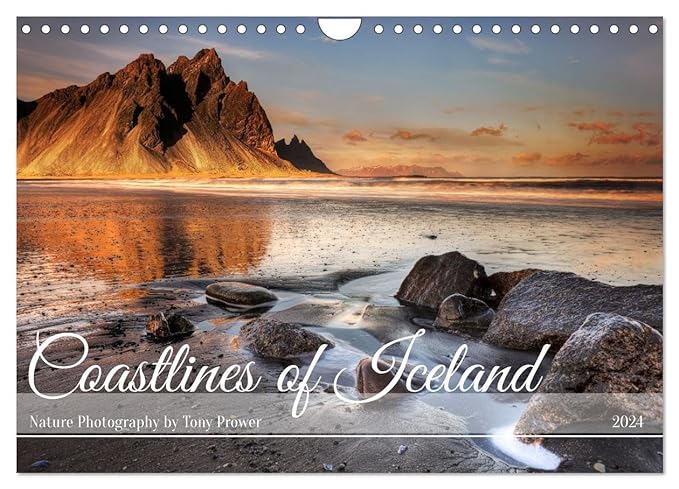
Iceland Coastlines
Amazon International


Focal length
24mm is my widest angle. I am using Canon’s prime “L” series lens. Sometimes I am in the same situation and the Aurora is blazing across the whole sky which makes me want a 17mm or even wider. However, with a little bit of Zen patience, I always get a reasonable frame where a nice aurora shape sits well in the 24mm frame.Taken on December 12, 2010
Location: Jokulsarlon glacier lagoon.
- Canon EOS 5D Mark III
- EF24mm f/1.4L II USM
- Medium weight Gitzo
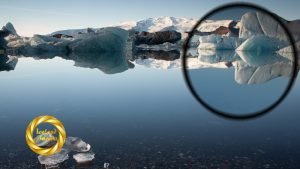
- 6 stop B&W ND filter
- Magic Cloth = Black Winter glove.
Camera Gear
Recommended for Northern Lights Photography.
Canon 5D – full frame |
Canon EF 24mm f/1.4 l |
Gitzo Carbon Fiber Tripod |
Infra-red Remote Controller |
Magic Cloth
Long exposure = 30 seconds.
The Magic Cloth action would have involved complete hands off for around 15 seconds. Then I start from below my lens and bring the Magic Cloth carefully up to cover the whole lens. Then I continue to move the cloth up to expose the lower part of the image, but only to the half way point on the lens. It is important not to allow any more exposure of the sky, or you will end up with dotted stars (where each star is exposed again, but in a slightly different position.
Using my 30 sec setting in manual mode is a sign of laziness. I should have been using my remote in Bulb mode for more control over the shutter speed. However I do have a few excuses for 30 seconds. It is good for short star trails to keep the exposure under 20 seconds (at east on a 24mm lens). The floating ice was moving slightly, so although it would have been better to give a longer exposure to the foreground, it would have resulted in blurred ice.
Post Processing
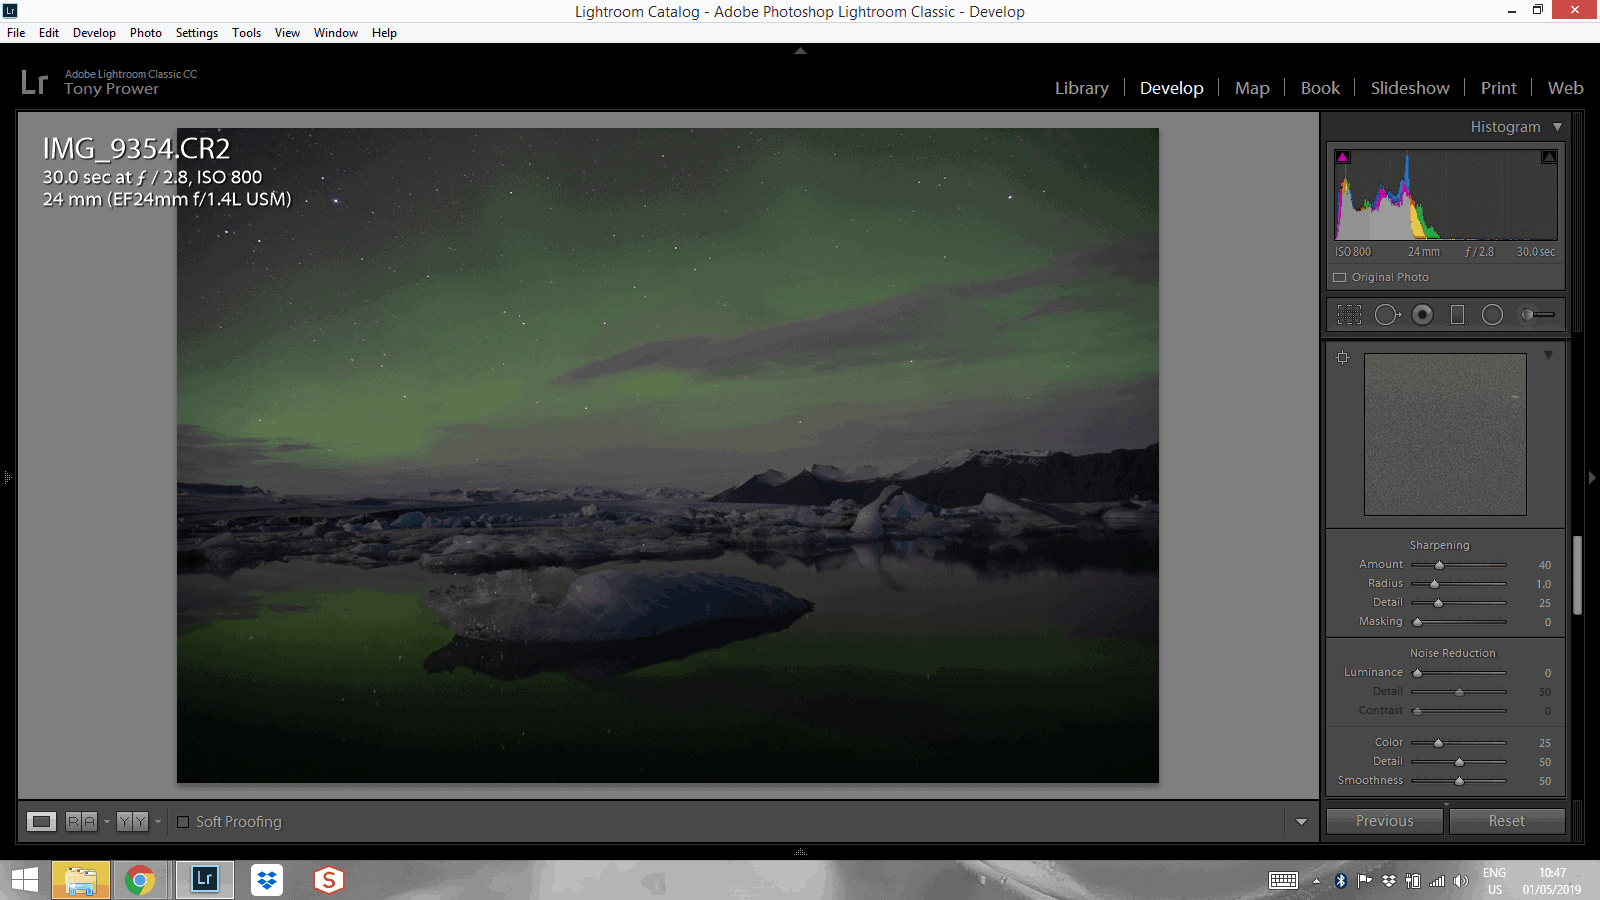
The unprocessed raw file was a bit dark. You can see some clipping on the left of the histogram. This is a tiny amount and there is enough shadow data to be able to bring out lots of details and colour on the foreground ice.
All it took was a tone curve adjustment, where I boosted the high mid-tones.