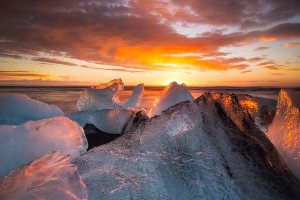
Silky Effect
We have all seen photographs of waterfalls or beaches where the water has turned to silk. You either love them or you hate them, but aside from personal taste, long exposure photography is a good way to come to understand shutter speed. This article looks at ways to give water that silky effect. First, you need a camera and a source of flowing water. Not all of us are lucky enough to live in Iceland, where there are an abundance of waterfalls.
Next, it is best to have a tripod or another way of keeping the camera perfectly still.
To create the silky effect, you will need to have the shutter open for a while. The shot of Óxárafoss was 30 seconds, but you don’t need that long to create a sense of movement. In fact, 1/4 or 1/2 seconds will do it just as well.
Faster Shutters
The following sequence shows the effect of different shutter speeds on the same waterfall.

1/50 sec at f/5.6 iso400
A 50th of a second is quite fast for a waterfall exposure. This is the sort of shutter speed that could be used for a hand-held photo because the fast shutter reduces the chance of ‘Camera shake”. Tiny droplets of detail can be seen in the image. The chaos is unsightly, and if this were your nasal hair, you would tuck it in or trim it. That is exactly the positive effect of long exposure.

1/15 sec at f/5.6 iso 50
Slower exposures

1/4 sec at f/11 iso50
When the shutter speed reached a quarter of a second, the individual droplets of water blur into one liquid flow. You can now see the silky effect forming, but there is still a bit of untidiness in the foreground, like a tramp’s beard.

1 sec at f/16 iso 50
Now we have an order! Between half a second and one second of exposure, the moving water becomes silky. Experimenting with shutter speed is a great way to improve your long exposure photography. Even if you don’t want a silky effect, there will be a shutter speed that really shows the best of the water movement patterns. For example, Skogafoss and Seljalandsfoss waterfalls in South Iceland look best with around 1/20-second shutter speeds.
Silky HDR
An HDR image using a variety of shutter speeds.
A regular HDR sequence would normally include shots with different shutter speeds, especially if you programme the sequence in aperture priority. An HDR with a variety of apertures might work in some scenarios, but is not desirable because of the potential blending issues. Shutter speed variations don’t effect the blending process in the same way and are much more desirable in landscape photography. If you are taking a waterfall HDR and you want to have the full silky effect, then use a dark filter or low-light so that all your exposures are over 1/2 sec. Personally, I don’t mind using slightly faster shutter speeds in a waterfall HDR. This adds texture to parts of the photograph. Guide to Waterfalls

Stopping Down
You will hopefully be thinking that a 1/4 or 1 second exposure is going to burn out the image and over-expose it. In normal daylight it would, so there are steps we can take to reduce the light in a scene.
- Aperture – use a small aperture such as f/22 or f/16
- Use a slow iso such as 50 or 100
- Use filters – a polariser will reduce light by about a stop, but a Neutral Density Filter (ND) will be the best option and they come in different strengths.
- Mornings and evenings – take the picture when the light is not so strong
High Dynamic waterfalls
HDR can have an interesting effect as the different exposures will product different levels of detail and different levels of blur in the same image. Try an HDR with shutter speeds ranging from 1/4 and “1” seconds, you will get a nice blend of details and movement in the water.

3 exposure HDR in low light
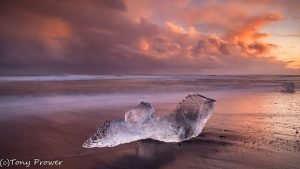
Beach photography
The same technique can be applied to waves lapping against the beach. I really depends on how the waves move and interact with the beach. Generally I aim for about two seconds to capture a receding wave. This is so much fun that I can happily spend a whole day on a beach with a tripod and dark filter dodging the waves.

30 sec at f/11 iso 50
I would recommend watching the waves carefully and see where they make interesting patterns on the sand or rocks. It is useful to know if the tide is coming in or going out. Be careful, it is easy to get caught by rogue waves, especially at night. The best advice is to get set up and experiment with different apertures and shutter speeds until you find something you like. Enjoy yourself. More about beach photography.Waterfalls on CanvasWaterfall Photo Prints
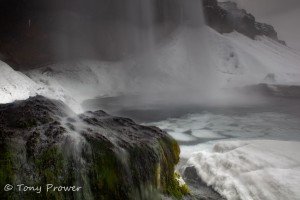
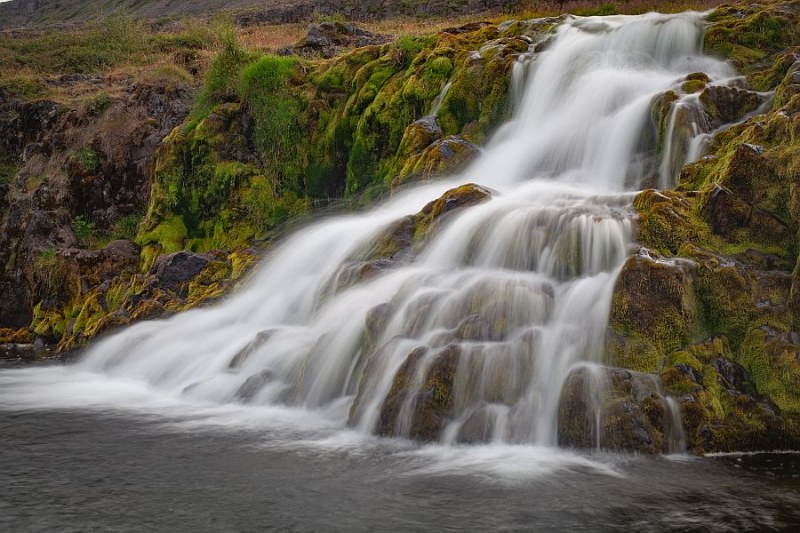
Silk and Moss
A delicate Cascade at the lower part of Dynjandi waterfall.
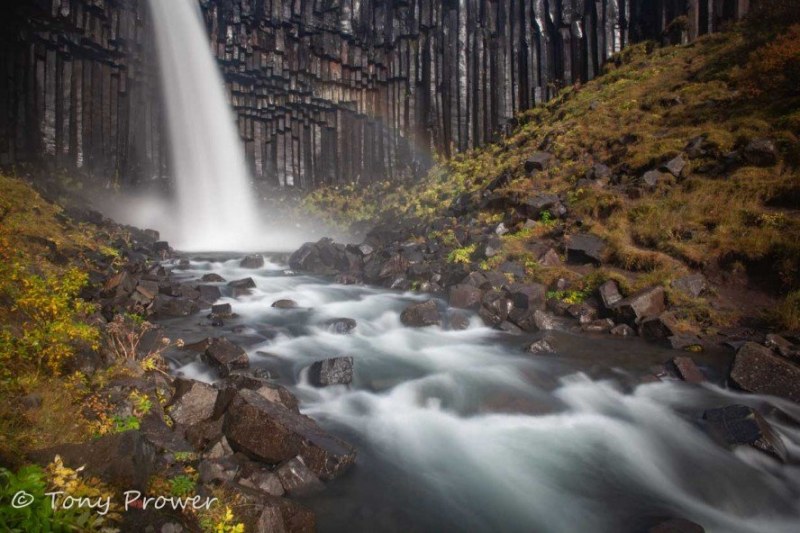
Rainbow Killer
Waterfalls and rainbows go together. The bigger the waterfall the bigger the rainbow because it is the spray that will hold the rainbow. Two well used landscape filters can kill rainbows if used poorly. A polariser filter can turn a rainbow on and off. It can enhance your rainbow or get rid of it completely. If you are experimenting with the Silky effect, you might be using a Neutral Density filter (ND filter). A long exposure can kill a rainbow. It cancels itself out if the exposure is too long. If you are using a polariser filter you need to keep your eye on the rainbow clarity as you adjust your filter or rotate your camera.
Camera Gear
The majority of digital cameras let you take a long exposure. If the circumstances are right, even cameras and phones that are entirely automatic will take a long exposure. Long exposures are typically achieved by using the filters indicated above or by capturing your images in low-light or at night. A DSLR or modern mirrorless camera is required if you want a truly long exposure.
You will need a tripod to hold your camera steady if you want the solid objects to be truly sharp in contrast to the Silky Effect. Choose a tripod that can support your camera’s weight.
Remember that places like waterfalls and beaches can cause a tripod to move. If you are on a sandy beach photographing big waves and a wave reaches your tripod, it could sink a little. This will give you a long exposure blur of the whole scene which is a ruined photograph. If this happens to you, you might need to reposition. However, if you leave your tripod sunken in the sand, you will have quite a stable tripod. However, it might not be good for your tripod.
Waterfalls can shake the rocks around them. You need to be sure that your tripod isn’t vibrating. Slippery surfaces can also affect the stability of your tripod.
My Equipment
This is the camera gear that I use for long exposure Nature Photography.
Canon 5D – full frame |
Canon EF 24mm f/1.4 l |
Gitzo Carbon Fiber Tripod |
B+W 77mm SC 106 ND |