Colour Boost Action
This tutorial offers an alternative to the saturation option when you wish to dramatically boost the colours in an image.
If you love strong colours in a landscape photo and use the Saturation slider, you will know that it can be quite destructive. Using a different Mode, we can boost saturation in a non-destructive way and then convert back to RGB mode with all the benefits.
The trouble is that the entire process involves many steps and is quite lengthy. It is also a challenge to remember all the steps if you are out of practice with your photo editing. We will make a photoshop action for this colour boosting technique so that it can be applied easily to any image in the future.

You are prompted to create a folder for your action. You can call it what you want, I have called it ‘ColourBoost’.

Give the first step a logical name and start recording by clicking the Round icon. If you go wrong during the process, you can stop recording and delete the action. It is also possible to edit previous steps if you don’t want to delete the whole recording.
You might want to practice the steps below before recording a photoshop action.
Photoshop LAB mode
Convert your image to LAB mode. LAB means there are three channels L=lightness and two colour channels A and B.

The next step is to duplicate the layer by dragging the image to the ‘Create new layer’ button on the layers pallet or by choosing to duplicate the layer under the ‘Layers’ menu. More information about working with layers here and here.

Tone Curve Adjustment
Now we are going to adjust the curves on the duplicate layer. Normally I would create an ‘s’ shaped curve to increase contrast, but this time I am just adjusting the limits of brightness. I do this by adjusting the ends of the line.

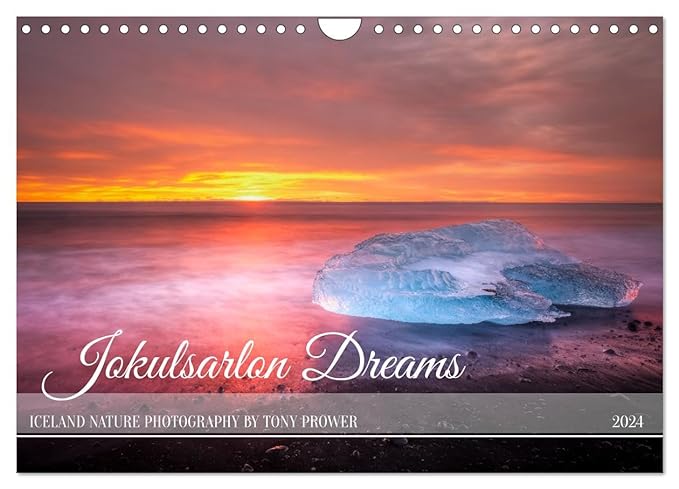
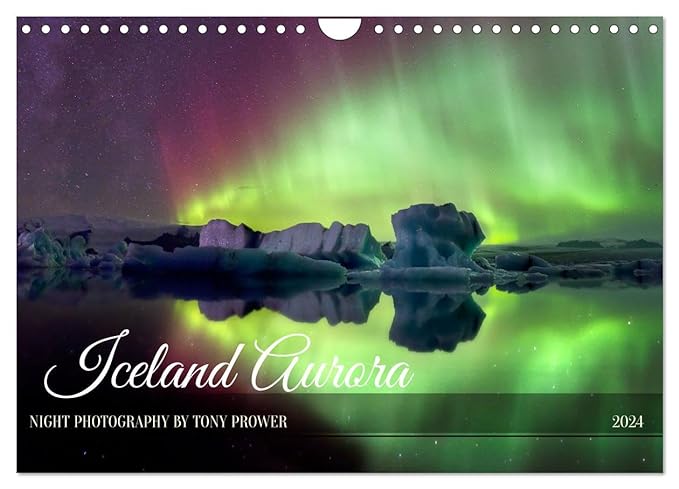
2024 Calendars on Amazon
Order online!
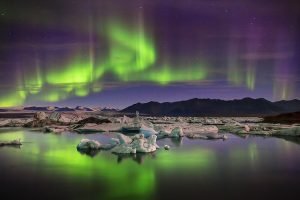
Jokulsarlon Dreams
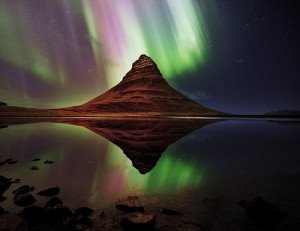
Iceland Aurora
Iceland Coastlines
Amazon International


No Curves
First choose the ‘a’ channel. Grab the line in the top corner and drag it to the left. There should be no curve in the line. Make a note of the value. Now do the same for the bottom corner and be sure to use exactly the same value as you did for the top corner. What you are doing is tightening the levels of the ‘a’ colour channel. Keeping the same values will ensure that you are not introducing an un-natural colour cast. The line should cross the centre.

Repeat Precisely
Now do the same for the ‘b’ channel. These adjustments have to be exactly the same or you will create a colour cast.
On the ‘lightness’ channel, you can give the line a slight curve to increase the contrast slightly. See here for help with curve adjustments.

By selecting and deselecting the ‘preview’ button, you should be able to see the effect of the curve adjustment. This is the eyeball icon beside the layer. Just toggle the visibility on and off to compare.

RGB Conversion
The last stage is to convert the image back to RGB mode. This is necessary if you want to save it as a JPG file afterwards. You will see a dialogue box asking if you want to flatten the image. Choose ”Don’t flatten’ because you might want to make adjustments to the layer first. For example you might want to create a mask and apply the effect only to certain parts of the image. Or you might want to use a different style of over-lay such as ‘multiply’ or ‘screen’.
Lastly: Stop recording the action!!
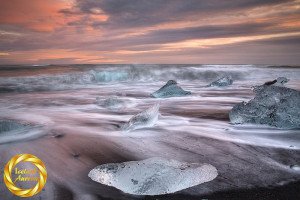
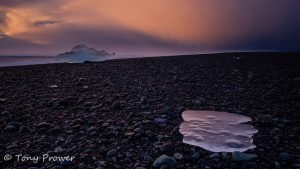
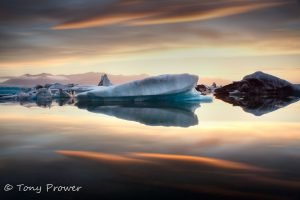
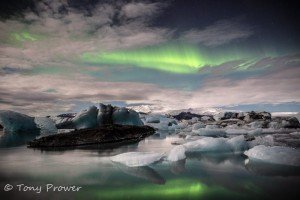
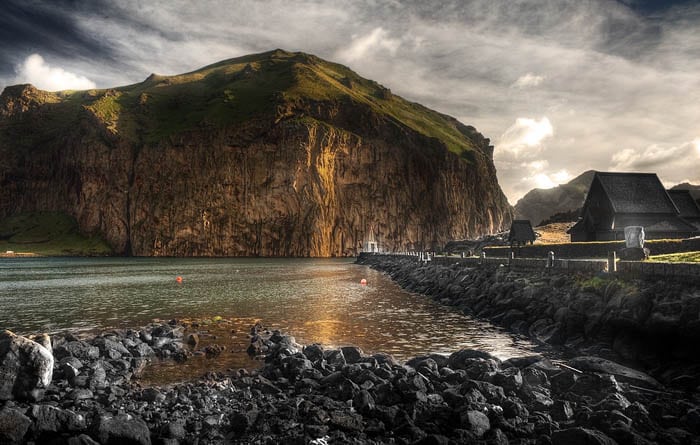
Lets look at my image before and after the colour boost.
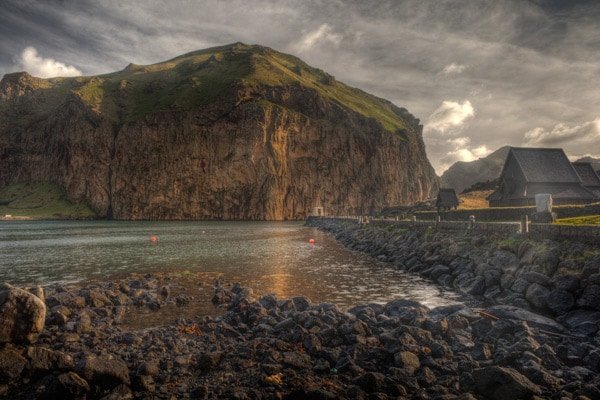
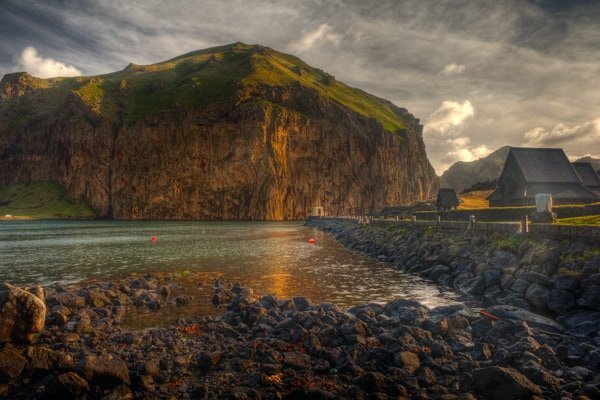
Conclusion
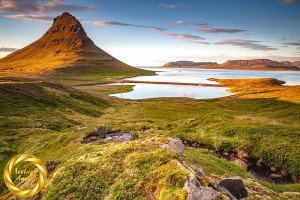
The photoshop action has certainly boosted the colour in this photo from the Westman Isles in South Iceland. Both the warm and cold colours have been boosted. The saturation might be too strong for your tastes, but you can experiment with the settings. I always do the conversion on a separate layer, so that I can fade or blend the saturated version with the original.