Photoshop Layers
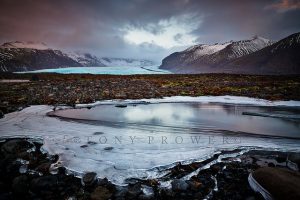
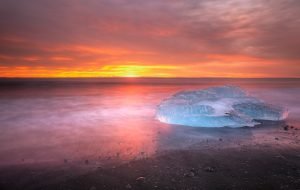
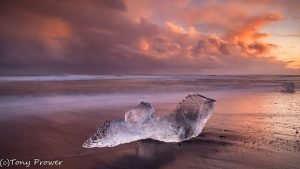
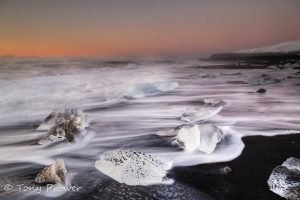
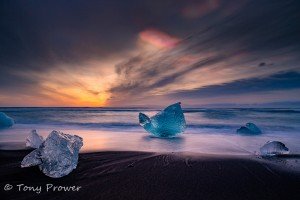
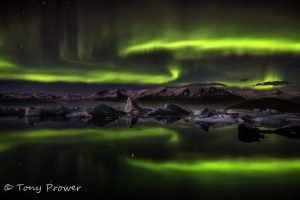
This is the main method I use to process most images. After many years of doing this in photoshop, I have decided to share the technique with you. The aim of this technique is to enhance colours, to give them that contrast colour while maintaining a natural contrast. I love the pre-dawn ice beach images because they often have so much colour potential, so I named this technique “Ice Beach Method”.
The technique requires a good understanding of Layers and Masks and channel Selection techniques as well as Tony Kuyper’s luminosity masks (which relate closely to this technique). So if you are full of beans, let’s open Lightroom and an image with colour potential.
Preparation in Lightroom
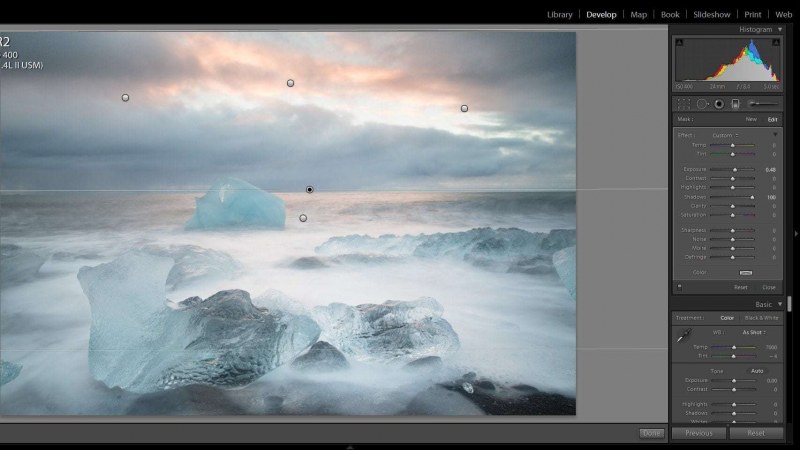
In Lightroom, I am using the graduated filter to balance the shadow areas in the top bottom and corners of the image. I am pushing the curves so that the shadows are lightened. Look at the histogram! I have pushed everything up into the top half. The image is now flat, and grey, but bright. The reason behind this is because the Ice-beach technique s going to increase the contrast heavily, it is therefore, best to start with an image that is flat in terms of contrast.
Photoshop
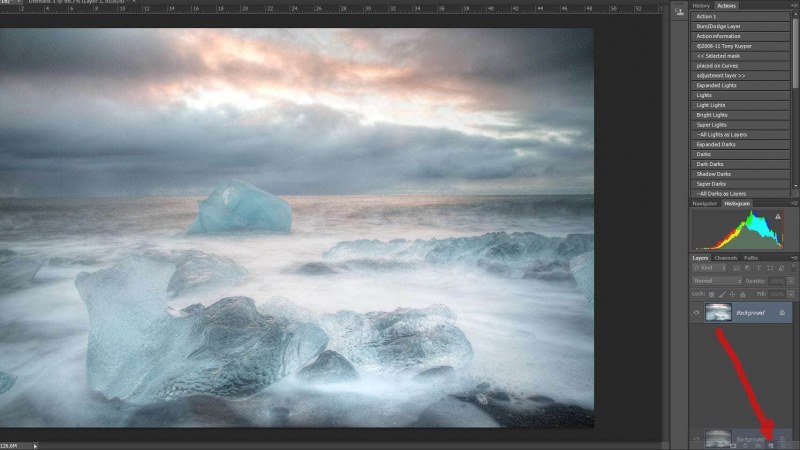
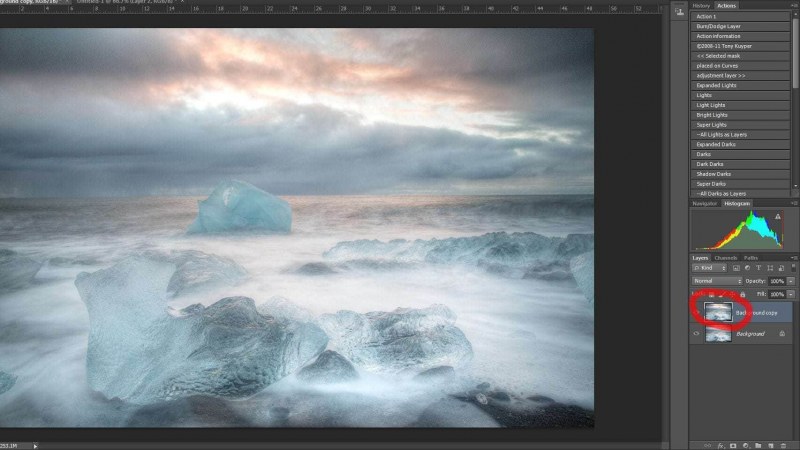
The first thing to do when the image is open in photoshop, is to duplicate the layer, this is best achieved by dragging the image thumbnail down to the “Add layer” button (at the bottom of the layers palette). This means that you know have 2 identical layers.
2024 Calendars on Amazon
Order online!
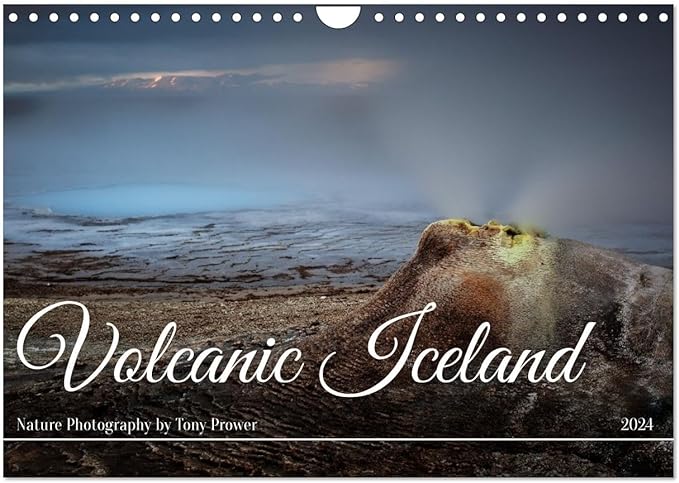
Volcanic Iceland
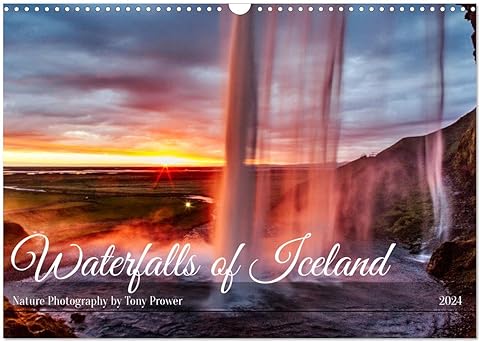
Iceland Waterfalls
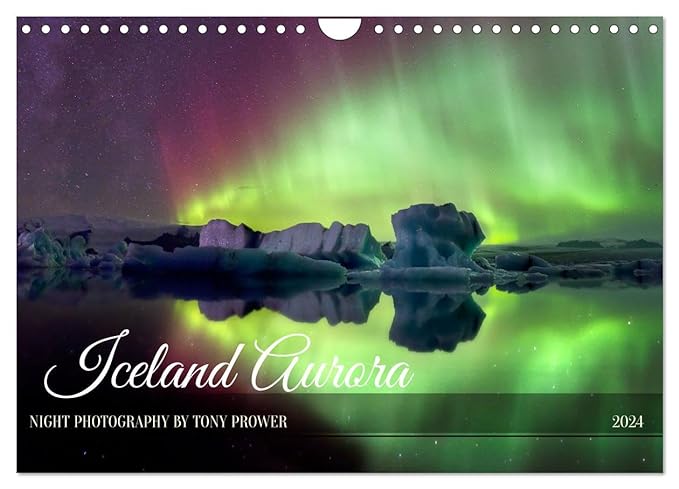
Iceland Aurora
Amazon International


Softlight
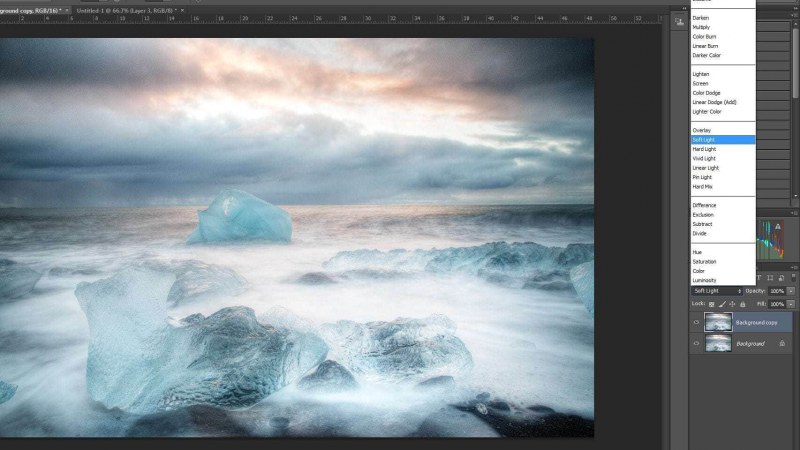
By changing the top layer to the “Softlight” blending mode, you will see how the contrast in your image increases. The highlights become brighter and the shadows become darker. At this stage please ignore the highlights, we are going to watch the mid-tones and shadows.
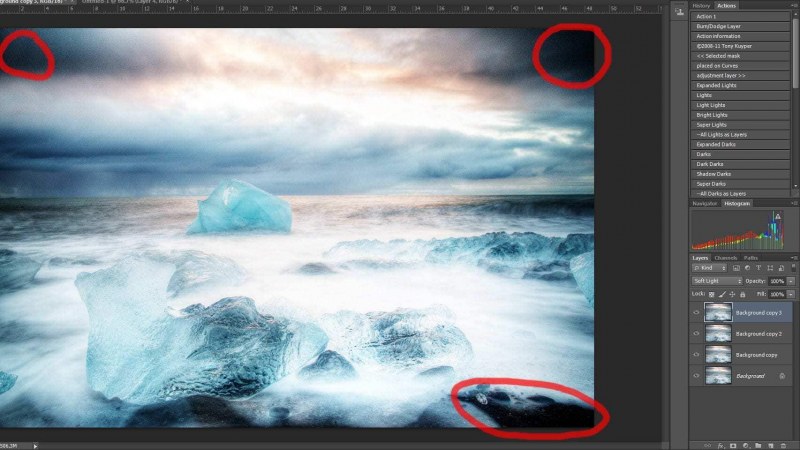
Keep duplicating the layer until the shadows become too dark.
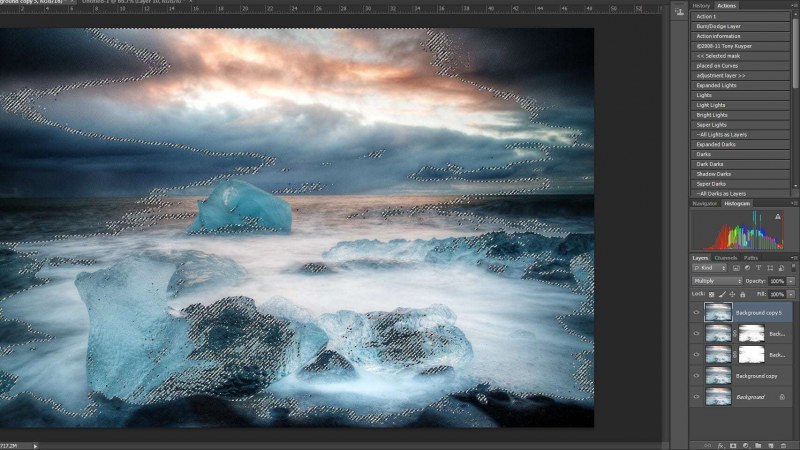
Channel selection
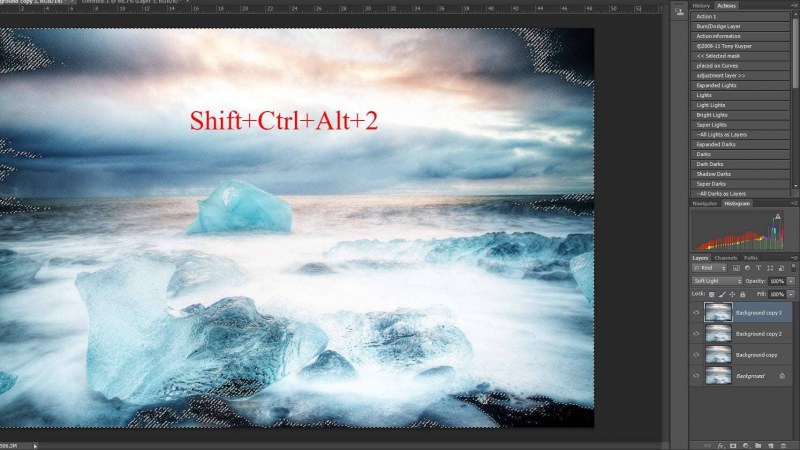
When the shadows become too dark, you need to mask them. The simplest method is to create a selection by selecting the RGB channel. On a PC the command is to hold “Ctr+Alt” and tap the “2” key. To add to the selection, just hold the “Shift+Ctrl+Alt” keys simultaneously while tapping the “2” key. The selection shown above was achieved by tapping the “2” key about 7 or 8 times. As a result, all the highlights, mid-tones and some of the shadows have been selected.
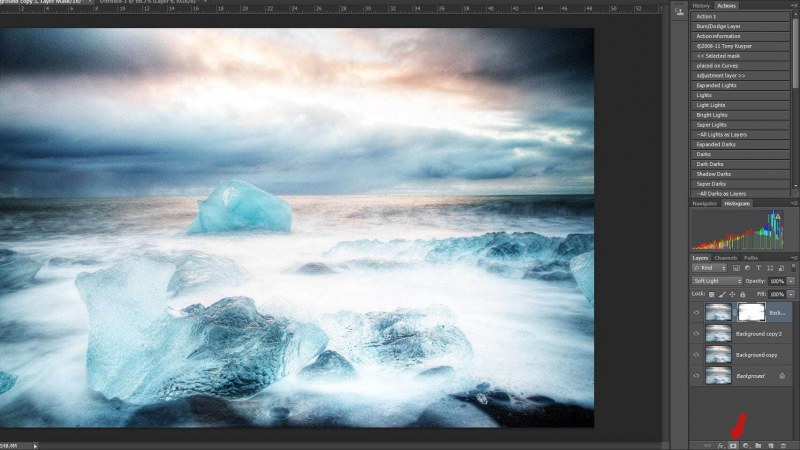
Now when you click on the “Mask” button, the selection automatically becomes a mask. With my selection, the mask will prevent the dark shadows in the layer underneath from being affected by the softlight layer.
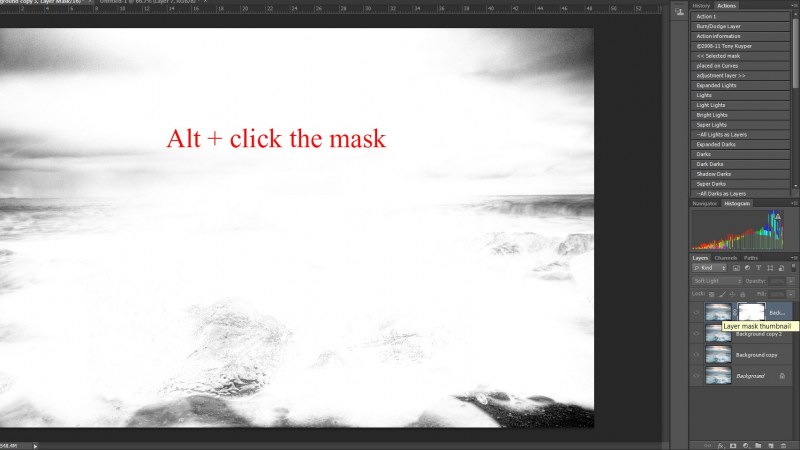
You can view the mask by holding “Alt” and clicking the mask.
We can repeat this process. but each time we duplicate the layer, the selection needs to be smaller than the previous. Repeat sparingly.
Highlights
Now we come to treat the highlights.
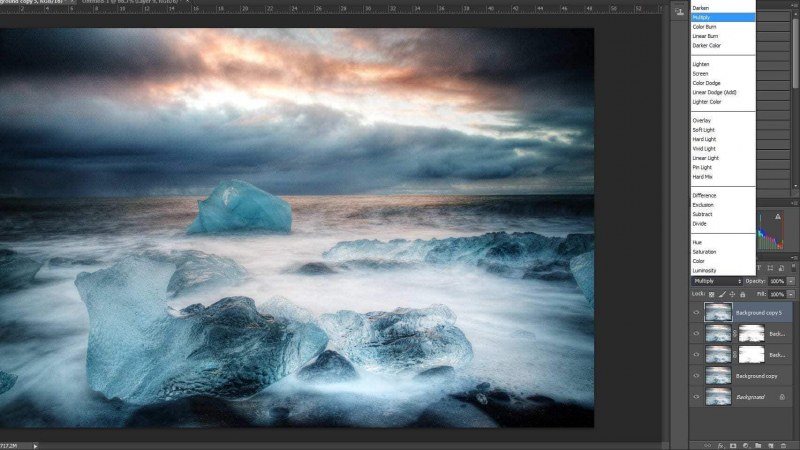
By creating a duplicate layer with the “Multiply blending mode”, you will start to reduce the highlights. When you have created a duplicate layer with “Multiply” creat a selection the same as before, but this time only 1 or 2 or 3 clicks. The aim is to select the highlights but especially the highlight colours, but not the dark mid-tones or shadows.
When you have created a duplicate layer with “Multiply” create a selection the same as before, but this time only 1 or 2 or 3 clicks. The aim is to select the highlights but especially the highlight colours, but not the dark mid-tones or shadows.
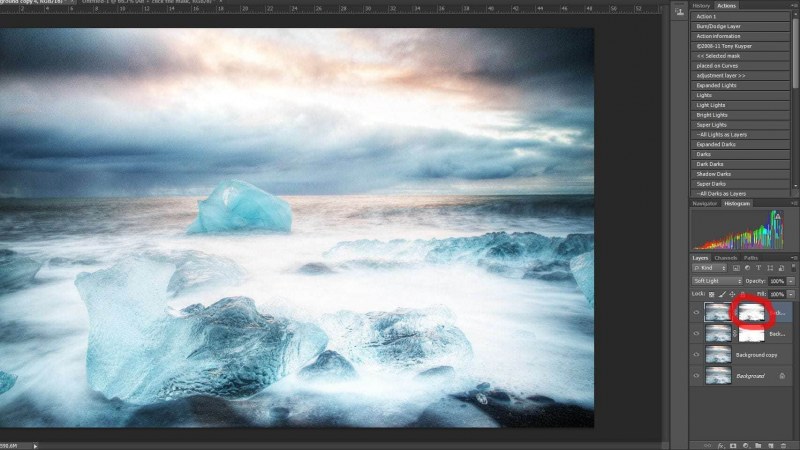
When you have made the selection, click the “Mask” button to create the mask. In this case only the highlights will be affected by the “Multiply Layer”.
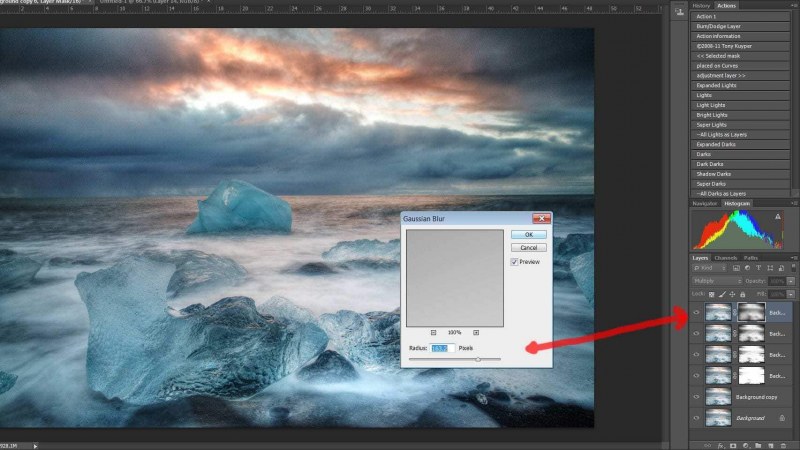
Gausian Blur
Filters – Blur – Gaussian Blur
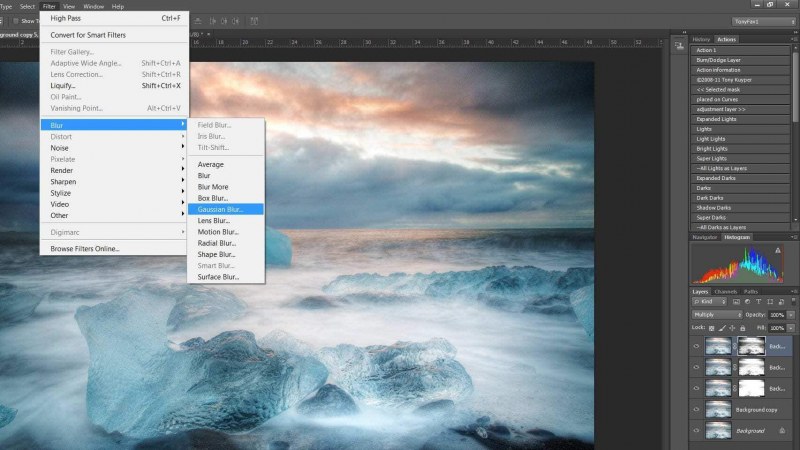
Adding a multiply mask will control the highlights but the image will lack clarity. It is important to add some “Guassian Blur” to the mask (around 100) until the clarity returns. As you repeat the process with Multiply layers, it is wise to increase the amount of Gaussian blur each time.

Compare

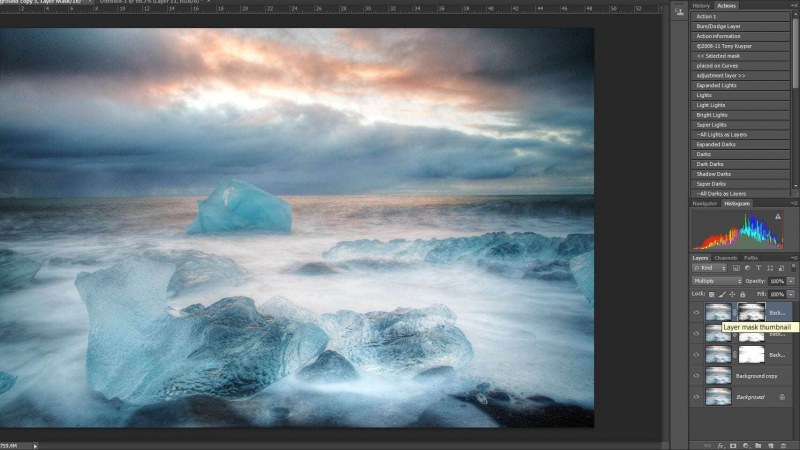
In photoshop it is good practice to regularly compare your starting image with your processing progress. For convenience I dragged a duplicate of the original layer to the top and for your convenience, I created a split mask to show you before and after.
If you are happy with the result, flatten the image… “Layer- flatten layer”
Final adjustment

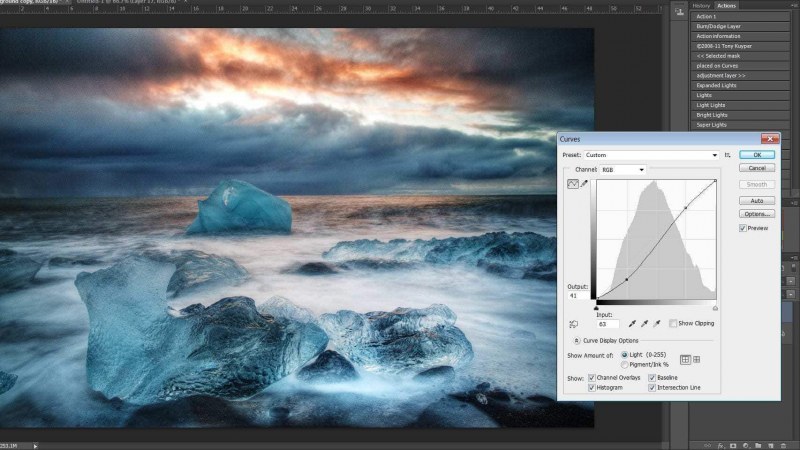
All this selection and blending has popped the colours but reduced the natural contrast a little. So create a duplicate and open the curves dialogue “Image – Adjustment – Curves”. I am able to increase the contrast without losing too many shadows or highlights.

And here is the final image…
Photoshop Luminosity Masks – video tutorial -Ice Beach Method
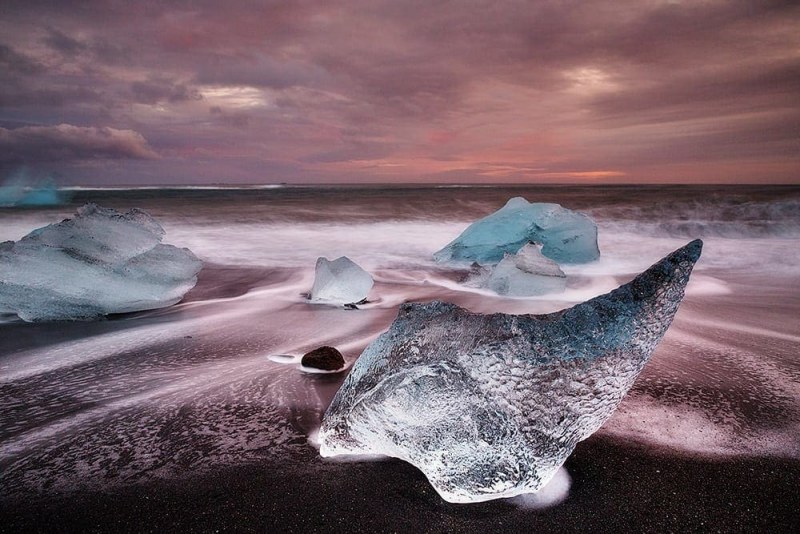
Ice beach method This is a photoshop technique to enhance colours and contrasts in a landscape…