No camera is perfect. If we push it to the limits of high iso and intense processing, we are going to experience the number one weakness of a digital camera – NOISE.
In camera noise control
Modern DSLRs have good quality high iso. In addition, the in-camera setting can reduce noise in the higher iso and is very effective. In most cases ‘High iso noise reduction’ should be turned on.
The second in-camera noise reduction option is called ‘Long exposure noise reduction’. When you use the ‘long exposure noise reduction‘ setting on your DSLR, it will reduce ‘Sensor Heat’. Your camera takes the same exposure again with the shutter closed. This will give your camera a frame containing just the sensor heat. A computation then takes the information away from your original exposure.
If you take a long exposure you will have to wait the same amount of time again after taking the shot. This can be an inconvenience if you want to keep shooting.
You can save this time and do this yourself with Adobe Photoshop or similar photo editor. If you are out taking a dozen 20 second exposures, turn off the in camera noise reduction and just shoot one frame for the same exposure time with the lens cap on. In photoshop use the ‘difference’ blend on the layers palette to reduce the noise in each of your pictures. This technique takes care of sensor hot-spots.
Private Northern Lights Tours
General noise reduction
This tutorial aims to show you how to correct for general noise using photoshop. But we are not going to do that now.
First we will look at the causes of noise and what can be done to prevent/ reduce it in the first place. Prepare for some waffle!
Noise in digital images is usually due to the fact that we have a highly sensitive part inside an electrical appliance. Noise is mostly electrically produced and unacceptable noise is where the sensor picks up more electrical interference than light information. Generally speaking, the larger the sensor i.e. full frame DSLR will cope with noise issues so much better than small compact digital camera sensors.
Unacceptable noise
The following situations can produce unacceptable noise.
- Long exposures – heat from the activated sensor produces coloured dots
- Low light – when the electrical interference is stronger than the light in the scene
- High iso – the light information is amplified to make the sensor more sensitive
- Correcting an under-exposed photo
Steps can be taken to avoid noise occurring in these cases such as ensuring that there is enough light available to use a reasonable iso and exposure time, but sometimes we want to shoot in low light or we are unable to provide another light source.
2024 Calendars on Amazon
Order online!
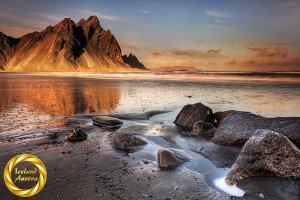
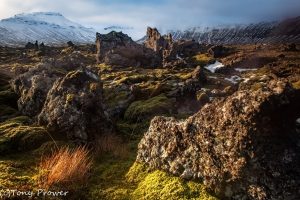
Volcanic Iceland

Iceland Waterfalls

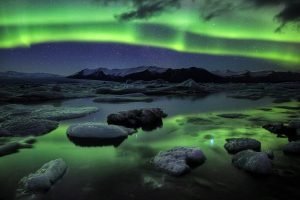
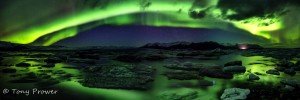
Iceland Aurora
Amazon International


Lightroom Noise Reduction
The noise reduction tool is the biggest selling point of recent versions of Adobe Lightroom software. The tool has a luminance and colour control to eliminate both types of noise. The sliders include contrast and detail controls. With this powerful noise reduction tool, noise can be completely eliminated from most photos.
Even with the most powerful noise reduction, there will be a loss of local contrast and detail sharpness. If a photo has heavy noise reduction, it can stop looking like a photograph. My advice for Adobe Lightroom is to adjust the noise reduction backwards until some noise is introduced. Then use a pixel editor like Photoshop to selectively apply noise reduction.

Photoshop Noise Reduction
Photoshop has its own tools for noise reduction. You can buy professional plugins to tackle noise in photoshop. The main advantage to reducing noise in image editing software like photoshop or Gimp is that you can use layers and masks to apply the strongest noise reduction to select parts of the photo. This willow you to reduce noise in the sky, for example, but keep the sharpness in the details.