White Balance
In general, I have found that the colour potential in modern digital cameras to be as good, if not better than film photography. However, the concept of white balance and auto-white balance can result in an undesirable colour cast. Sometimes the colour cast is desirable and suits the scene.
White balance is one of the camera settings that can be freely changed without destroying your photo, when you are editing the RAW file. However, this is not always possible, so this simple colour correction technique shows you how to correct the colour cast in J-pegs or Tiff files, using Adobe Photoshop.
Tours Around Iceland
Simple Colour Correction
This is a quick and simple technique for correcting the colour of an image in photoshop. It is not always successful and will not give you the desired results 100% of the time. But as it is quick and easy it is definitely one to try first.

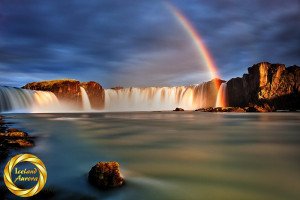
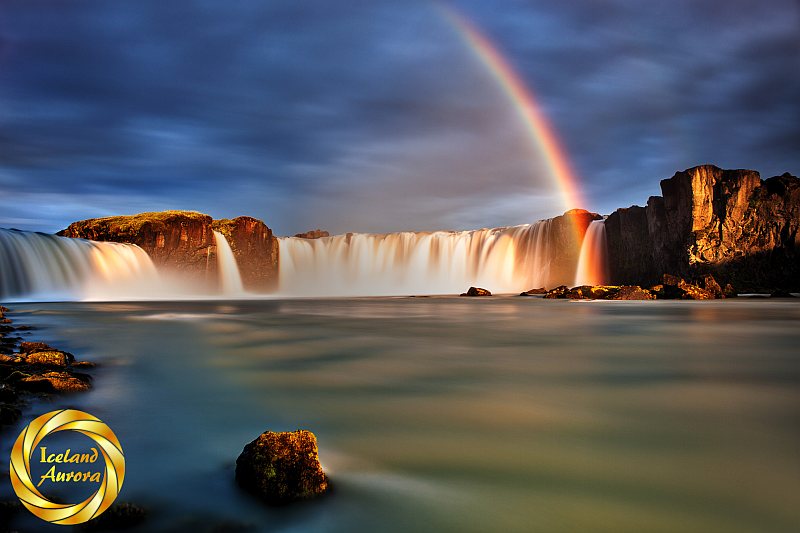
My picture of Goðafoss has a distinct blue cast. It was taken in low light and this is a common problem as my Canon 40D couldn’t really see well enough to decide on an appropriate white balance. I could have corrected this at the RAW stage, but for the benefit of this tutorial, I burned it as it came out of the camera.
Average Blur
Duplicate the layer. Then apply an ‘average blur’ to the top layer. The average blur will average the whole image and make one smooth colour. So, if there are a lot of blues in the photo, the result will be a smooth image of blue/grey.

You will see the top layer converted into a big blue smudge (or whatever colour cast you are dealing with).
2024 Calendars on Amazon
Order online!
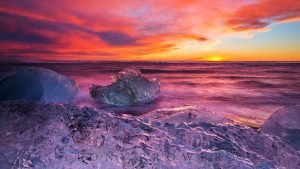
Jokulsarlon Dreams
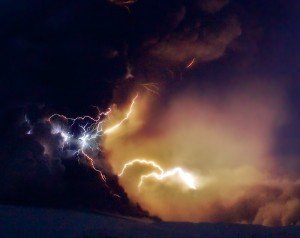
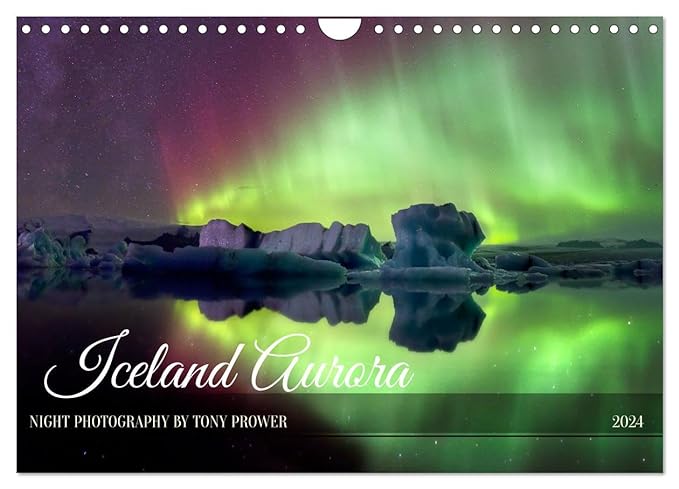
Iceland Aurora
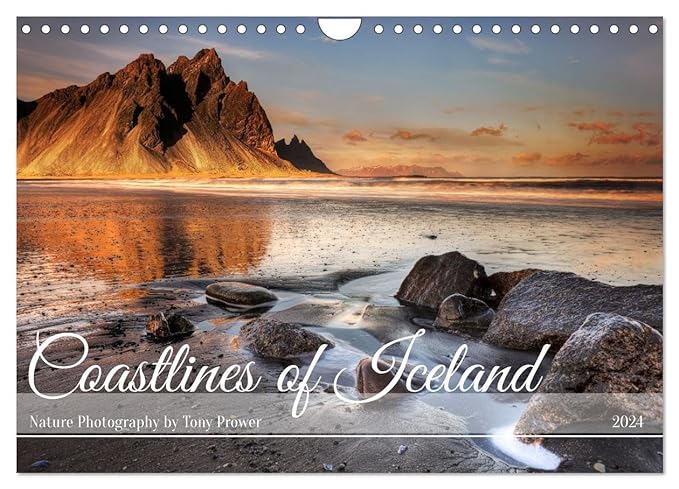
Iceland Coastlines
Amazon International


Curves Adjustment Layer
The next step is to create a ‘curves adjustment layer’ by clicking on the adjustment layer button on the layers pallet. The adjustment layer button looks a bit like the Ying Yang sign, it is a circle with half black and half white. This will create a new adjustment layer and open a dialog box with the ‘Curves Adjustment’ controls. Alternatively you can create a ‘curves adjustment layer’ from the layer menu. See more information on adjustment layers.

The curves dialogue box will open and you simply select the middle eye-dropper tool and click anywhere on the top layer, the one that you added a blur to.

Final Step
You should see your top layer turn grey instead of the cast colour. The curves adjustment layer is directly affecting all layers including the original picture. The final step is to get rid of the top layer so that the original photo can be seen. You could also make a curves adjustment while you have the adjustment layer.

You can now see the effect of the curves adjustment on your original image.
*Note: this can also be achieved with the middle eye-dropper on the ‘Levels adjustment layer’.