So you have the night photography bug. You sit twiddling your thumbs in the daylight hours waiting for the light to fade so that you can go out and leave your camera perfectly still with its shutter open for many tens of minutes. You are not alone!!
Challenges
Night photography is a challenging hobby. You are taking a picture in conditions where you can barely see your camera. You have to wait around in the coldest part of the day for long periods of time and all those minutes could be wasted if you don’t plan to overcome the basic obstacles which shooting in the dark can present.
- Composition
- Focusing
- Exposure time
- Depth of Field
- Coldness
- Darkness
- White balance
Tours Around Iceland
Composition
There are obvious difficulties with setting up your composition. Using your tools can help you overcome the difficulties. The wonderful thing about night photography is the aspect of uncovering things that you couldn’t see with your naked eye at the time. But of course, this can work the other way against you.
Tools to help you see
Don’t even think about going out on a night shoot without a torch, but when you are on safe ground and considering your composition, sit without the torch light for 10 minutes to let your eyes adjust to the darkness.
If there are any lights in your scene, you can use these to guide your camera through the viewfinder. I prefer not to use live view at night because it drains the battery quickly.
Use a hot-shoe spirit level at all times. You will be amazed at how wonky your horizons can be without it. They can be purchased at all good camera stores for a low price. Tool Tip: buy one that gives you landscape and portrait levels.
Use your camera’s higher iso to get a test shot. This can be a bit fiddly, but it will save you a lot of time eventually. If you can, take your first shot at 1600 iso with a large aperture of say f/2.8. After just a few minutes you should be able to see the composition. Then take the iso and aperture down to your tastes and adjust the exposure time accordingly. This technique works very well for your composition and exposure time calculation. For example, if you get a perfect exposure at 2 mins f/2.8 you know you will need 4 minutes at f/5.6. If your 4 minute exposure is then perfect at 1600 iso, you know that it will need 8 minutess at 800 iso or 16 minutes at 400 iso and so on.

2024 Calendars on Amazon
Order online!
Volcanic Iceland
Iceland Waterfalls
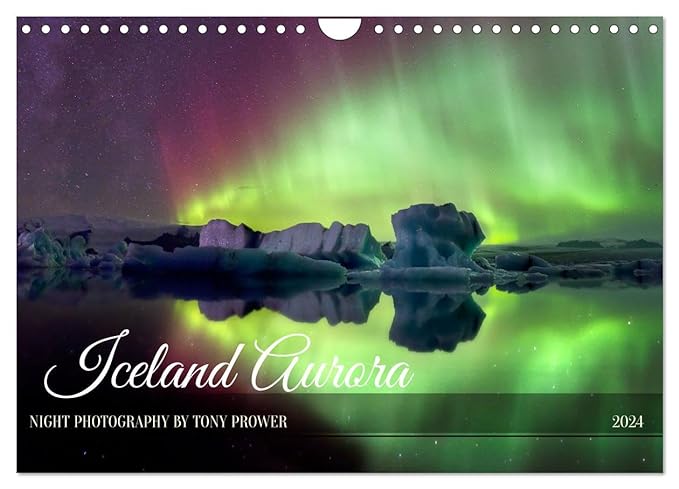
Iceland Aurora
Amazon International


Focusing
Focusing can be doubly challenging at night. Firstly it is difficult to see the scene well enough through the viewfinder to focus correctly. Secondly, it is a challenge composing with such narrow DOFs (depths of field).
You can overcome the first challenge by using your brain as each setting will present its own unique focusing challenges. Think about what you can use to help you focus. You could use a torch or flashlight to illuminate a part of the scene, but this will only work in close focus situations. You could put an luminous object somewhere in the scene and focus on that, I have done it with a mobile phone, but you have to be quick because the light fades… also don’t drain your batteries on something that may save your life. If there are lights in the scene, you might want to focus on them. You could use other methods such as using you car lights and calculating distances by foot etc etc.
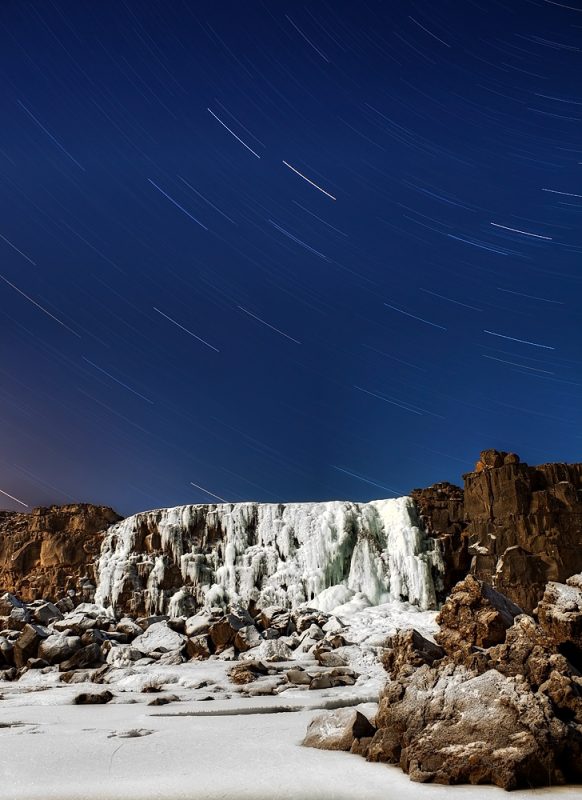
If you are shooting very long exposures for star-trails, then you can use mid-range apertures and get reasonably sharp foreground detail.
Limited DOF
Narrow DOF means that you are not going to achieve perfect sharpness throughout your scene. If that is what you are after, you should go out during the day. Using an aperture such as f/5.6 can mean that you get an acceptably sharp image, but you would be better off composing from a high point so that the immediate foreground is not too close. Then focus about a third of the way into the scene (hyper-focal distance) and your picture should be acceptable. If you are using f/2.8, you will be best to find a fixed focal point. Don’t have the focal ring set on infinity unless you are just shooting stars. Always set it a little bit before according to your aperture.
Moonlight
The moon and other forms of illumination can seriously help you reduce your shutter times. If you are near street lights or have a significant part of the moon in the sky, you won’t be exposing for more than 10 minutes. The time will be halved if you are dealing with a snow covered scene.
In a landscape situation, you might even be tempted to stop down to increase your depth of field. Personally I stick between 2.8 and 5.6 because I don’t have the patients to go lower. With these reduced depths of field, you may have to compose a landscape scene slightly differently than you would during the day.
Coldness
Protect yourself and your camera in cold conditions. It is generally colder at night so be prepared. I have spent many nights outside in the Icelandic winter and I am still around. Dress with layers, two or three layers on each body part. I always carry a balaclava as well as my hat and gloves. As your hobby involves waiting around for many tens of minutes, try jumping jacks or running on the spot between frames.
Protect your camera. My camera, battery and memory card are all guaranteed to -35 degrees, but it is actually taking them indoors which can kill them. Always put them in a plastic bag before you take them inside.
Multiple exposures or HDR
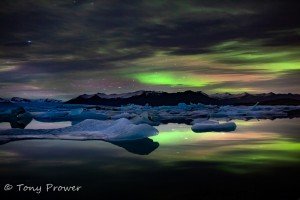
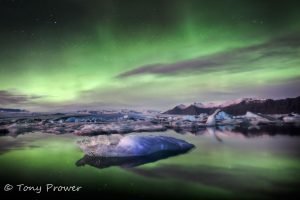
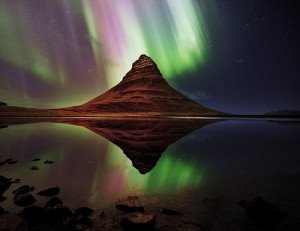
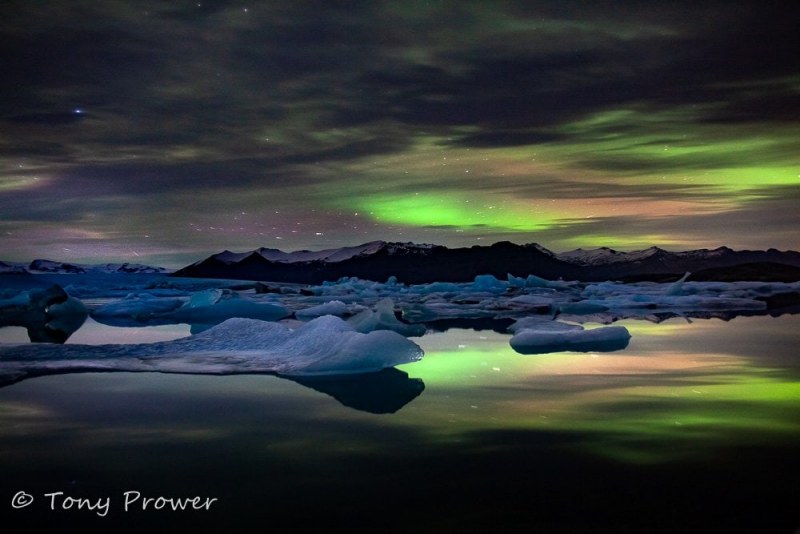
Yes, night scenes really need a high dynamic range. When you expose for the landscape the sky will usually be a complete mess of over-exposure and star trails. Normally I take a few short exposures for the sky around 60 sec each and then go for a medium exposure of a couple of minutes and then go for a long one to expose for the land. I often will take a dozen short exposures especially if there is aurora or the chances of catching a shooting star.

White balance
As your camera cannot see anything at night, it is not going to be very good at guessing the correct white balance. For this reason I would recommend shooting in RAW mode at all times. This way you can chance the white balance in the comfort of your home.
Be sure to check out my ‘Magic Cloth Technique‘ as this applies especially well to night photography.
This article naturally follows from Nigh photography 1 and relates to Photographing the Northern Lights.