Camera settings
- ƒ/8
- 24 mm
- 30 seconds
- 200
Mode: AV mode with + 2 stops over (compensation +/-).
Focus: f/4 hyperfocal mark. This is slightly weighted to background sharpness.
Background
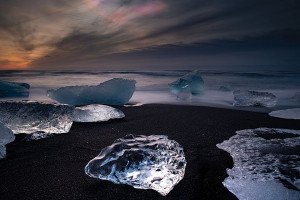
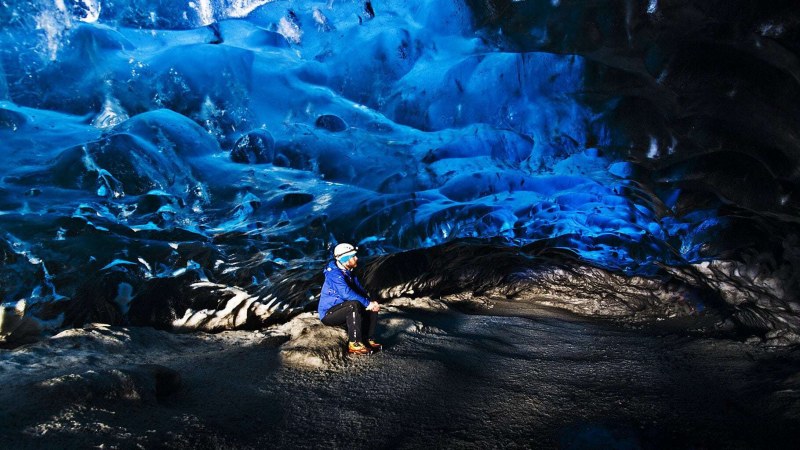
This is late March on our Winter workshop. We have a special arrangement with our ice cave guide who agreed to take us into the ice cave early. We set off over an hour before sunrise with the high hope to have the cave to ourselves. We were disappointed to see another vehicle before us, we weren’t the first. We weren’t the only ones with that idea. But it turned out that the other vehicle carried just a driver/glacier guide. He was coming early to check the cave and wasn’t in our way at all.
This photo was taken deep in the cave before sunrise. Our eyes had adjusted to the darkness in the cave, but we could only mak out the outlines of each other and parts of the cave falling into our head-lamps. Oscar made himself comfortable. We explained that the camera shutters would be slow, so he would need to be still. Our small group made a semi circle around the cave floor and trained our head-lamps on Oscar.
Private Northern Lights Tours
Aperture
Everything except the floor was a few meters away from the lens. F/8 was my choice to give good sharpness throughout the image. The floor wasn’t important and half of this was cropped out later. I used an f/4 hyper-focal mark to favour the background which is where all the detail was. Because of the group, we formed a semi-circle so we all got a clear shot. I was on the outside of the circle around 3-4 meters from Oskar.
Composition
Composing in an ice cave is like composing a regular landscape photograph… except upside down. The floor can be interesting, but not nearly as interesting as the ceiling. The trick is to find some interest in the ceiling. In our case we were shooting blind. We could see the general shapes – convex and concave. We couldn’t see the fine details or the colours because we were in there before sunrise.
Oskar – our guide/model – was a bit central in the composition for my liking. But I didn’t have much choice short of setting up my camera in front of the group. My composition was determined by the best part of the ice cave ceiling, rather than the position of the model. I was trying to avoid too much darkness to the right, and the lack or shape to the left.
Focal length
Although Ice caves are not particularly large, a wide angle is necessary in most cases to capture the full ceiling. I was was with my widest prime at 24mm.
2024 Calendars on Amazon
Order online!
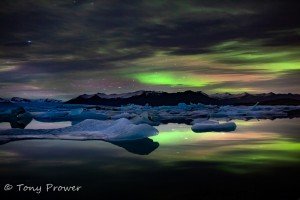
Jokulsarlon Dreams
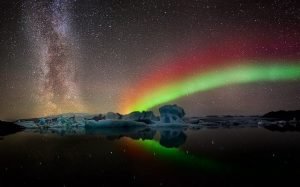
Iceland Aurora
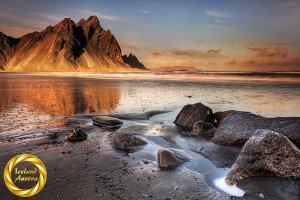
Iceland Coastlines
Amazon International


Magic Cloth
Long exposure = 30 seconds.
This is a special application of the Magic Cloth. A dark ice cave is one of those situations where the technique is superior over other dynamic range photography techniques.
This photo was a result of an upside down magic cloth technique. Rather than a quick exposure on the top part and then a longer exposure on the bottom, this technique was a quick exposure on the bottom and a longer exposure on the top. This created a balanced photograph with mid-tone colours and contrast.
Over the 30 seconds, the bottom part – including the floor and model was exposed for just 2 – 3 seconds. The top half had a much longer exposure to bring out the colours in the dark cave ceiling. The very top of the ceiling would have had about 20 seconds total exposure time. This gives more colours and dynamic range to the photograph.Ice Cave Tours
Special application
The reason why this has an advantage over other dynamic range techniques is because it naturally has a shorter exposure on the model. Oskar was in a comfortable position and was very still throughout the photo shoot. The ambient light entering the cave made the floor and the model brighter than the ice cave ceiling. If we were using graduated filters to balance the dynamic range, the model would have been exposed for the full exposure time. With the Magic Cloth, he was exposed for a 10th of the exposure time. The result is a sharp model and a well exposed ice cave ceiling. This is a good combination in low light photography.
Recommended Equipment
This is the camera gear I take to Ice caves. You would probably want to try wider lenses as well.
Canon 5D – full frame |
Canon EF 24mm f/1.4 l |
Gitzo Carbon Fiber Tripod |
Infra-red Remote Controller |