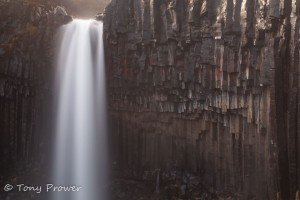
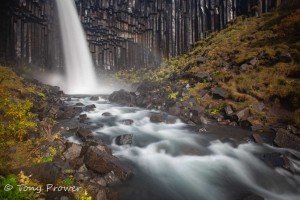
Svartifoss Waterfall
Skaftafell National Park, East Iceland
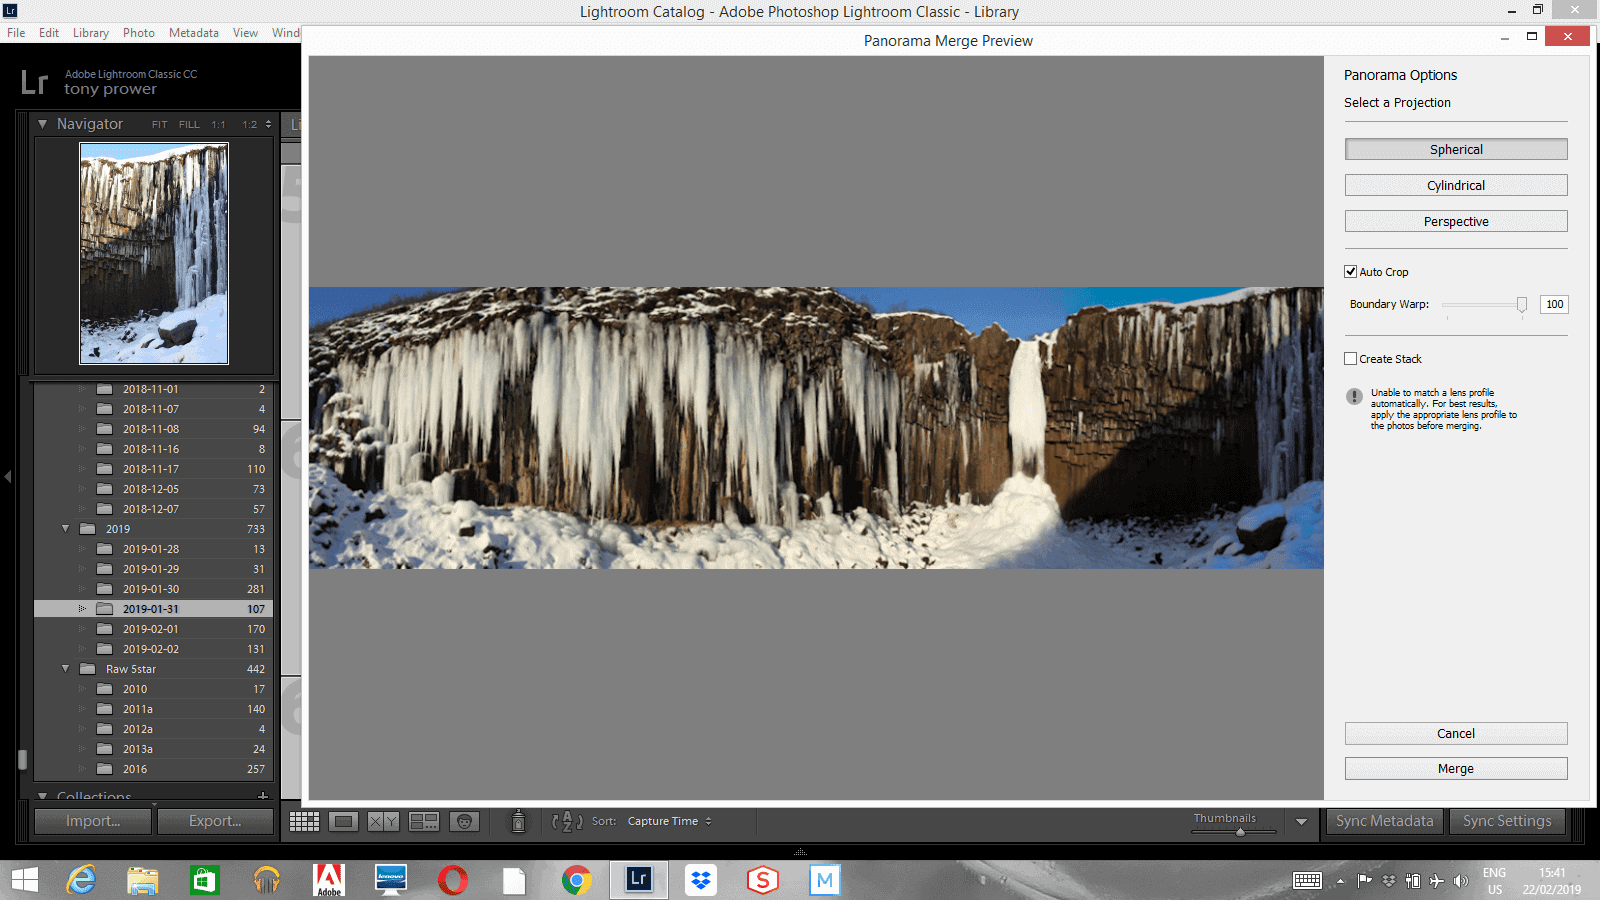
This panorama photo was taken in January on my Winter photo workshop. We sacrificed a sunrise shoot to get an early start on the 2km hike up to the waterfall at the Skaftafell National Park. After an hour drive and about 1 hour hike with short photo stops on the way up, we got to the waterfall just as the Winter light started to hit the face.
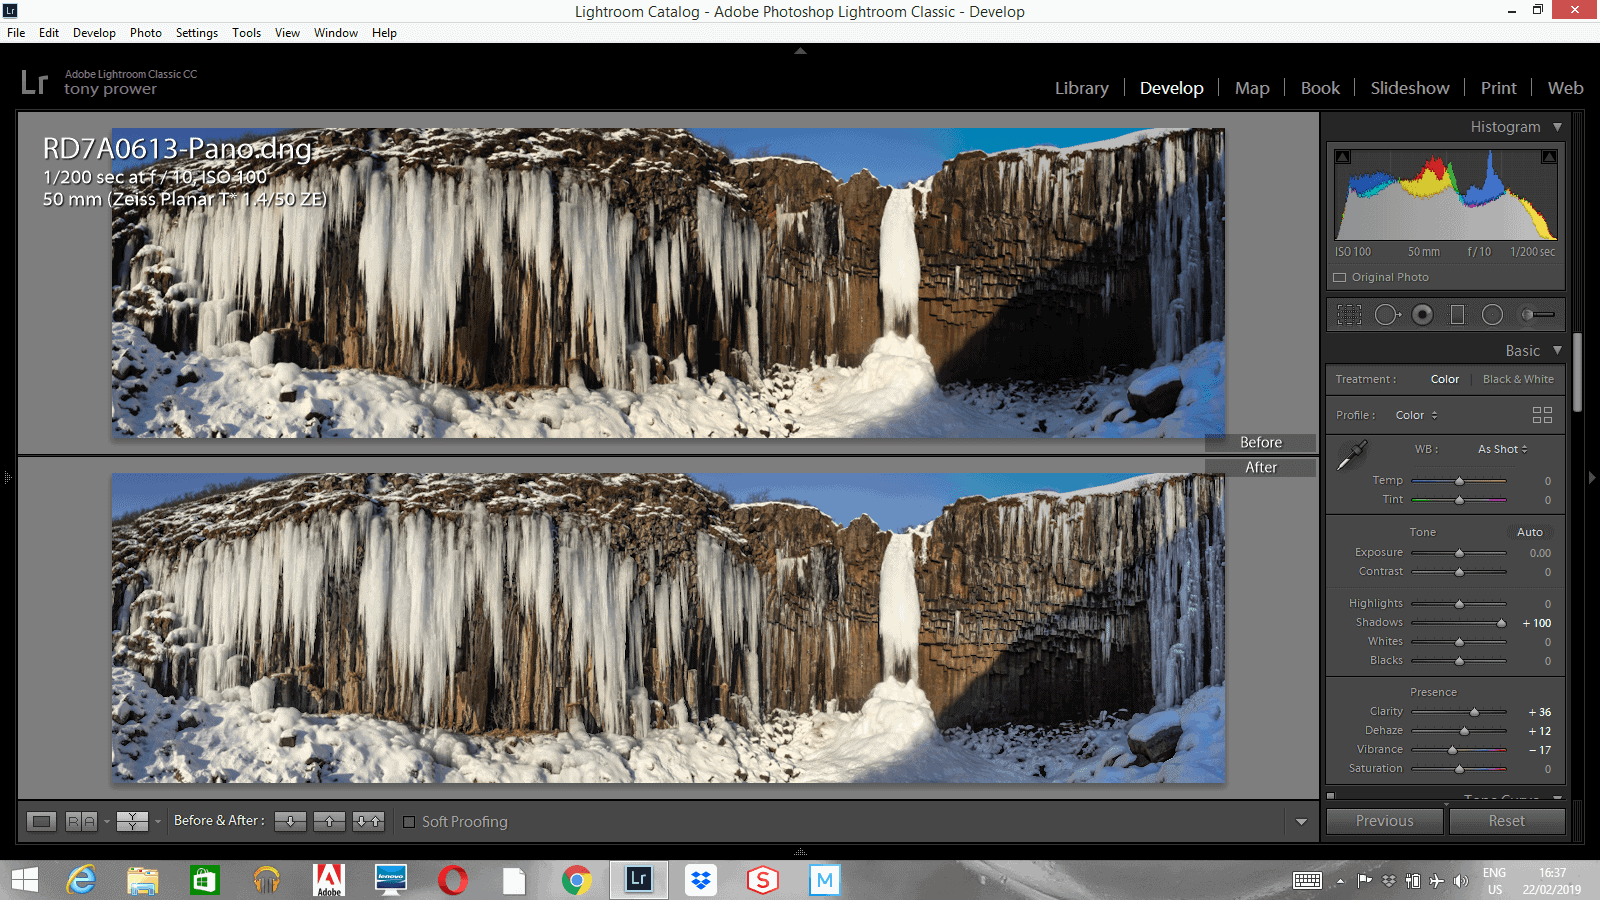
In mid-winter, there is always a chance that the horse-shoe gorge will be filled with icicles. Below the waterfall the collection of ice and snow develops into an Ice Cone.
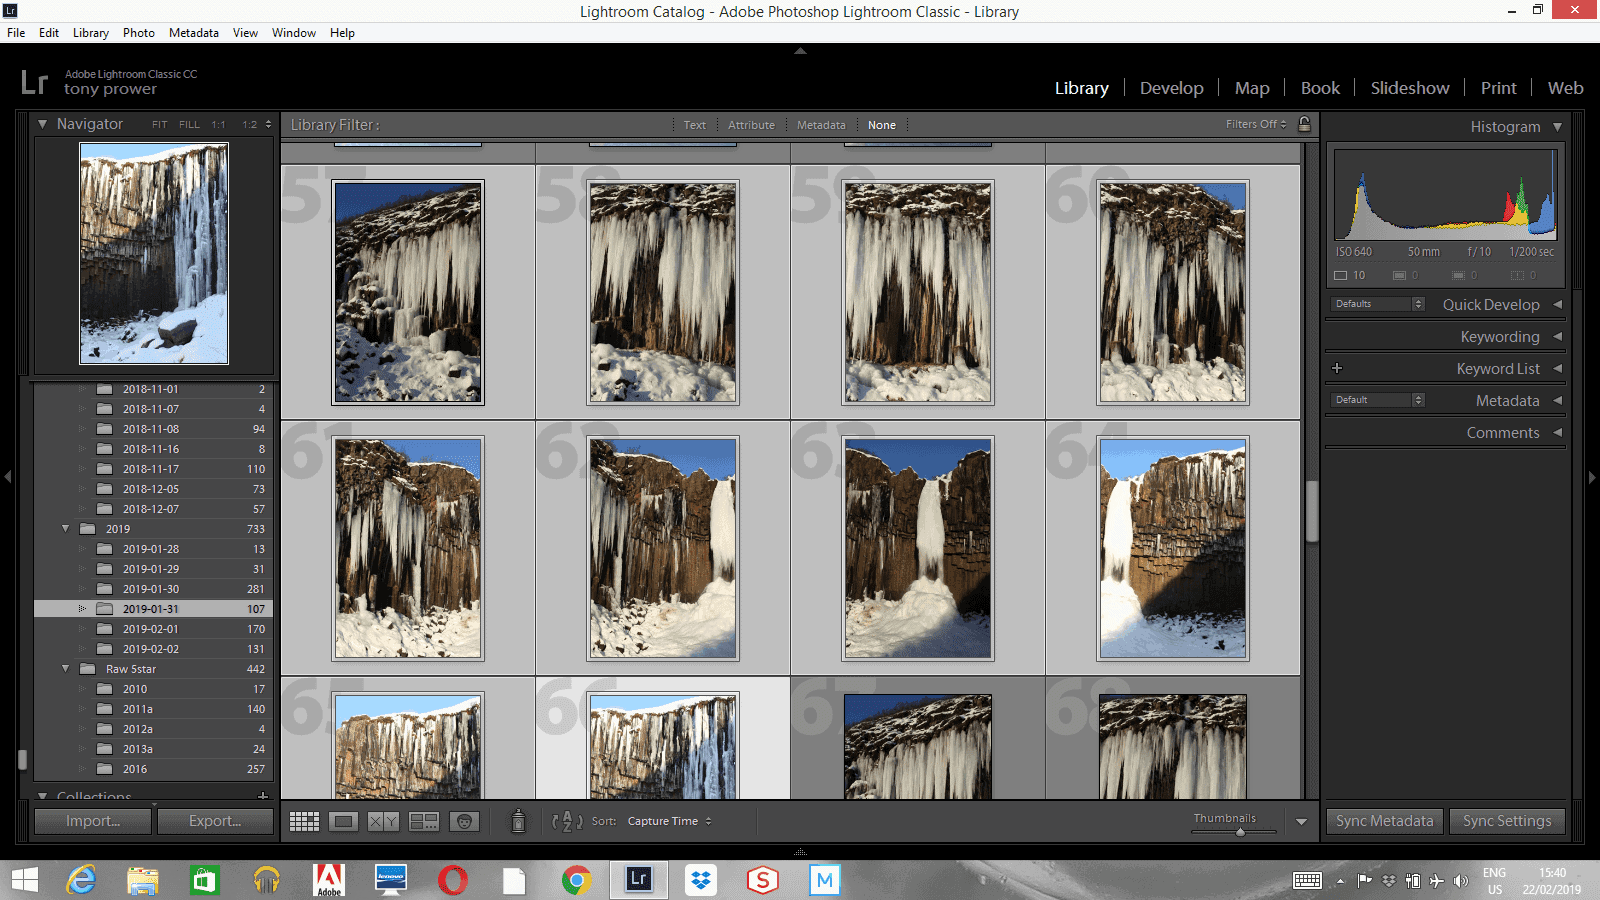
The trail passes a couple of waterfalls that are part of the same river. We walk through Iceland’s second largest birch forest and there is thick snow and ice underfoot. Our microspikes make light work of the trail. At the end of the trail there is a huge metal viewing platform from which this photo was taken.
Totally Manual
To get the best panorama results, it is best to turn all your settings to manual. In manual mode, I compose the brightest frame (in this case it was the long white icicles) and use reasonable settings to get a safe exposure. By safe, I mean no clipping of highlights (or shadows). As I shot this hand-held, I chose a reasonably fast shutter. 1/200 sec was easily fast enough for 50mm hand-held. I started on the left and included about 30% overlap in each frame. My Carl Zeiss 50mm prime is an ideal panorama lens because there is no distortion and yet it is wide enough to make a reasonable panorama of the scene. Manual focus should also be used. The Zeiss 50mm prime is manual focus and I kept the focal point the same throughout the sequence.
| CAMERA | Canon EOS 5D Mark III |
| LENS | Carl Zeiss Planar T* 50mm f/1.4 ZE |
| ISO | 100 |
| FOCAL LENGTH | 50.0 mm (48.5 mm in 35mm) |
| APERTURE | f/10 |
| EXPOSURE TIME | 0.005s (1/200) |