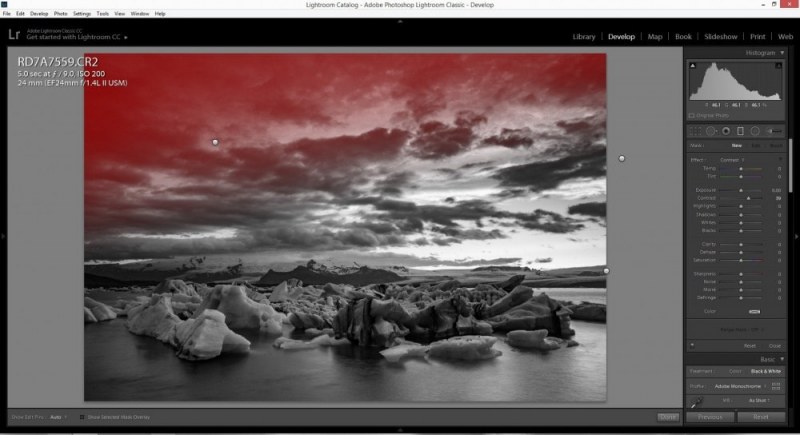
This tutorial looks at ways to convert your image to black and white using the tools available in Photoshop CS3. There may be work-arounds for other versions of photoshop or other image editors, but the work horse in this tutorial is the powerful ‘Black and White Tool’ in CS3 which has a great selection of filter pre-sets. To emulate this without the tool, you could try blending channel levels.
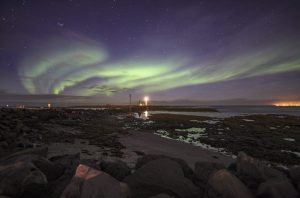
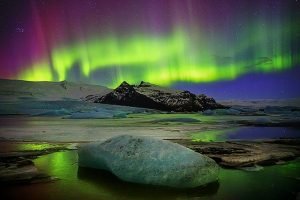
The first step is to prepare your image. Black and white has a higher dynamic range than colour so it may be advisable to create a HDR from multiple exposures or even tonemap a single exposure.

When you are happy with your image, make a duplicate layer.

Now we make a Black and white adjustment to the top layer.

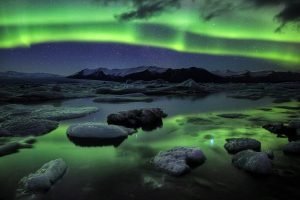
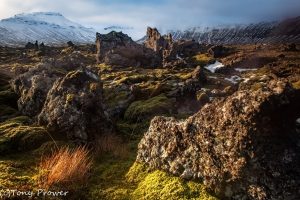
It is good to have in mind what you want to do with each layer. In this example I have decided that the top layer is going to feature the Basalt rocks in the image. The Green Filter seems to bring out the best detail in those columns.

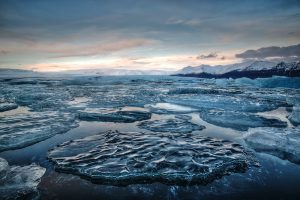
I decided that the bottom layer was going to feature the bottom rocks and water detail. It seems that the High Contrast Blue Filter give a very moody contrast in these areas.
You might want to create more layers to feature different aspects of the image.
When you are happy with both layers, create a mask for the top layer and start painting with a black paintbrush to bring the details in the bottom layer through.

Using a paintbrush on the mask I have introduced all the detail from the lower rocks and water.

For more information about using masks see here.

When you are happy with the result flatten the image, apply some slight contrast curves and duplicate the image again.

Now apply a stronger contrast curve to the top layer. This layer is going to feature the water and the bottom rocks.

I am going to use the Burn tool to localise contrast in important parts of the image. I am using a low exposure (11%) and I am applying it to all the highlights in the water. When I have finished I will go over the important parts again. It is important to be gentle with the Burn Tool as it’s difficult to undo all your work if you spot a mistake later. Better to make a duplicate layer if you are new to Burning.

Now I use the Dodge tool to dodge the shadows. I have a setting of 10% but it should probably be a bit less. I am going to dodge the shadows in the lower rocks and some of the darker parts of the foreground water.
Next I do the same to the basalt columns in the bottom layer. The trick is to follow your eye into the image and localise the contrast on key areas.
When you are happy with both layer, create a mask for the top layer and paint the bottom detail through.

When you are happy with your mask, flatten your image.


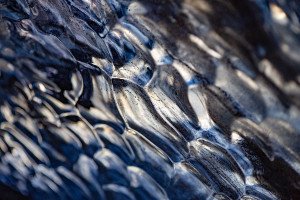
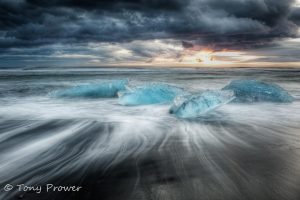
Here we can compare the dramatic effect of the conversion. What do you think?