Multiple Exposures
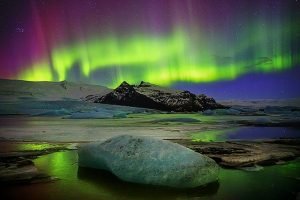
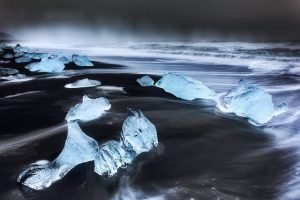
HDR means ‘High Dynamic Range’. Multiple exposures are combined to give the result that a single exposure couldn’t achieve. For northern light photography, the HDR technique means that you can include rich landscapes or even foregrounds to make the scene more dynamic. The success of the landscape or foreground depends on the length of your exposures. The shorter exposure would normally be for the stars, the Northern Lights, and any other lights in the scene. The in-between exposures can be useful for creating a better quality and more realistic foreground.
The whole technique requires some practice and some experience because it goes beyond the Night Photography Basics and generally requires professional camera gear for really good results. I would strongly suggest getting some daytime HDR photography experience.
HDR is as much about post-processing as it is about taking photos. You need to have the complete experience, from setting up the exposure bracketing to creating the final image ready to print or share. Every stage of the process is a learning experience that helps you do better on the next photo shoot.
Critical Composition.
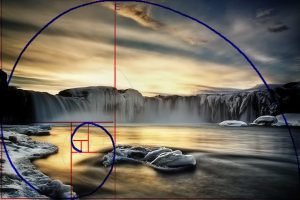
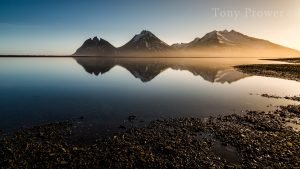
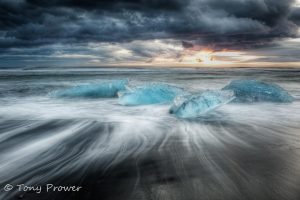
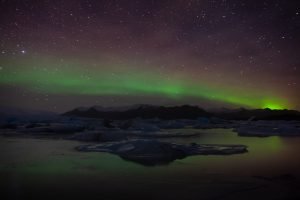
Because the sequence of exposures is time consuming, it is essential to have a good composition to start with. I look for some water, if possible, for reflected light and shapes that might help the scene. It is fine to follow the basic rules of composition such as’symmetry’’ or the rule of thirds.
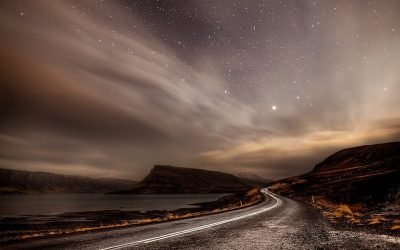
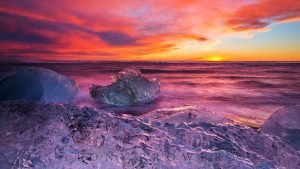
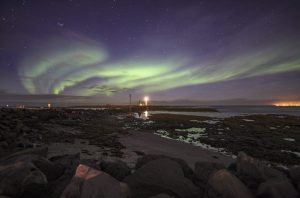
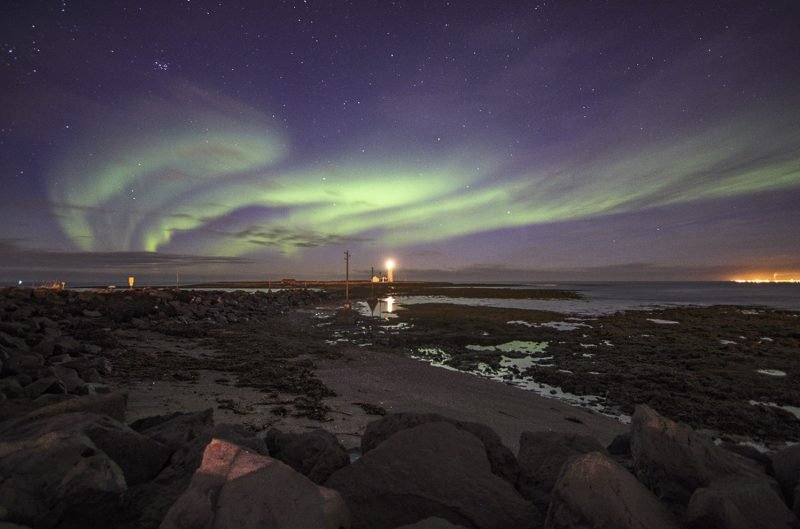
For this scene, I actually took a 3 exposure HDR. The first exposure was for the sky for 25 seconds, then the landscape for 225 seconds then the lights on the lighthouse for just 1 second. This final exposure was never used in the final image, so this is a 2 exposure HDR.
How to photograph the Northern Lights.
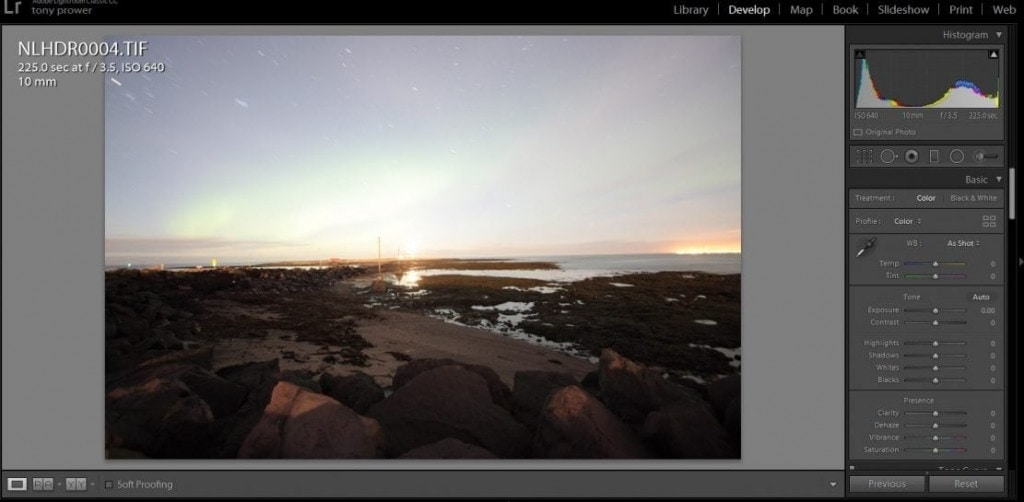
Unprocessed Photo
Here is the unprocessed 225-second exposure open in Lightroom, so you can see the histogram. From the histogram, I can see that all the shadows are preserved, which means we have processing control.
Lightroom shadow adjustment
All of the shadows are included in the exposure, so I can go ahead and increase the levels of the shadows by boosting shadows and blacks. Then, using de-haze to introduce contrast, I maintained a ‘night look’.
The 25 second sky exposure was given a similar treatment in the light room to boost the shadows in the sky and give a better print.

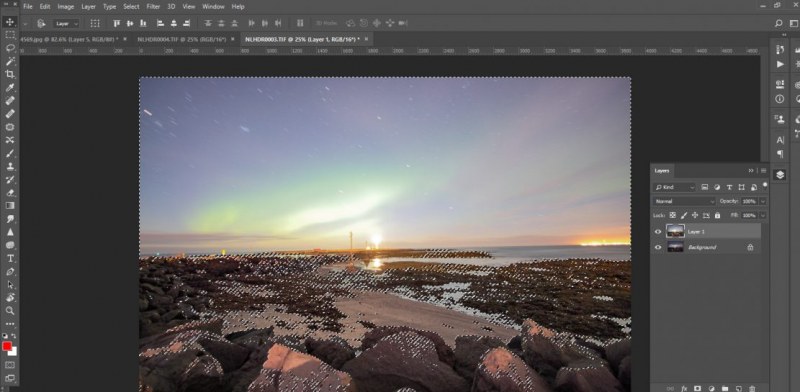
Photoshop Layers
The next step is to open both images as layers in Adobe Photoshop. It is possible to open both files as layers, but I just opened both files and used Select All > Copy > Paste to add 1 image as a layer on top of the other. I selected the brighter pixels in the top layer (brighter image) by using ‘Ctrl+Alt+2’ to select the highlights, then holding shift, I was able to add to the selection until the whole sky was selected.
Layers and Masks – Photoshop Editing
With my selection, I click the Mask Icon to turn the selection into a mask. Then I invert the mask (Ctrl+i) to allow the highlights from the bottom layer to replace the highlights in the top layer. There are ‘High Dynamic Range’ software programmes, such as Photomatix, that will merge the different exposures automatically. In Photoshop and Lightroom, it is also possible to merge exposures automatically.