One of the big issues with Northern Lights photos is noise. >What settings can help us control noise in our images? If you are reading this, it is unlikely that you have a Canon EOS 5D Mark III, or Nikon D800. These camera’s iso can be pushed so far that noise is not really an issue, if it is, then read on (this might be for you after all). That is one solution to noise in your Aurora images, upgrade to the new generation DSLRs, it is possible to push the iso to 3200 and still get usable results, this is very useful when you are shooting very low light subjects, such as Milky way, Auroras, Night landscapes etc. If you are still getting noise with these cameras, then you might want to read this technical article!!
Extreme low light
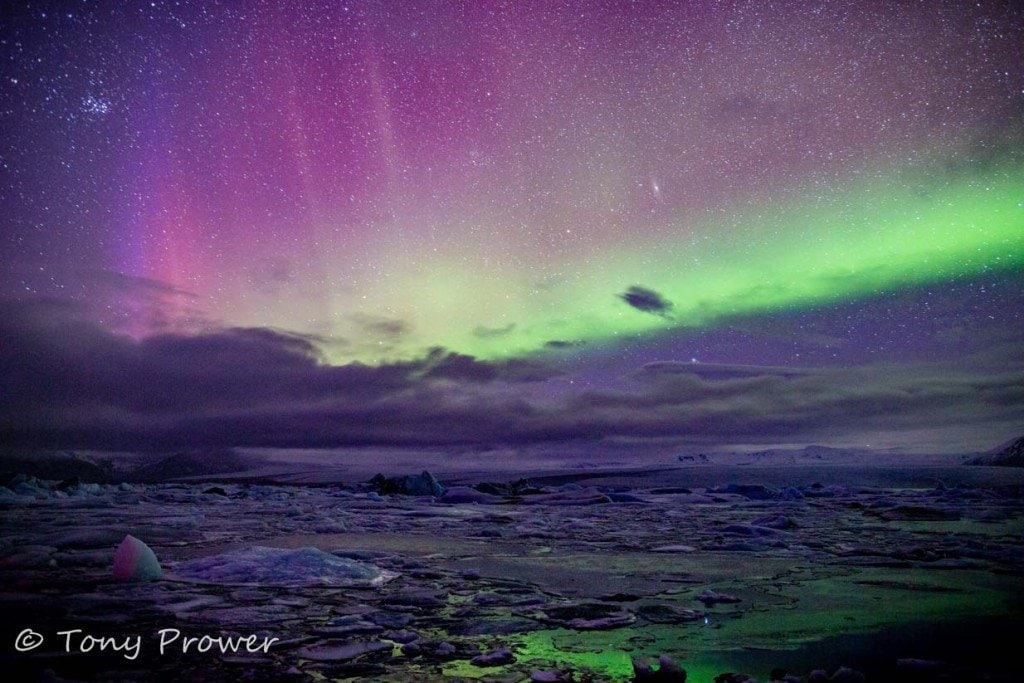
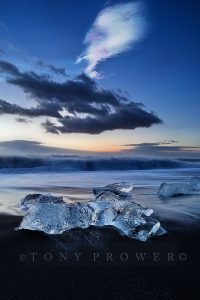
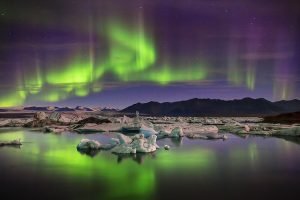
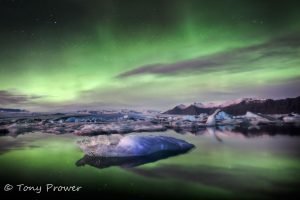
This was an extremely dark night with no moon and despite the results, the Auroras were difficult to see with the Human eye. This is my favourite shooting conditions because the result is a surprise. This shot was at f/2.8, this is a compromise because my lens is f/1.4. F/2.8 allows a lot of light and I knew the DOF would render the Ice in the middle ground to have acceptable focus. If I focus just before infinity, I know that a 24mm lens will have a DOF extending into the middle ground. Without any middle ground, I might have chosen f/2.2 to give my sky a little more exposure. If that piece of ice was closer, I would have considered f/4 (with focus just short of infinity).
Tours Around Iceland
Sensor Noise
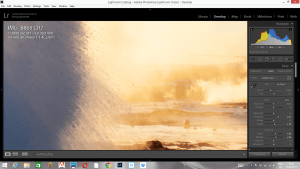
So why is this a noisy shot? It is mostly from poor exposure and amplified by post processing. When I got home I found that the exposure wasn’t as good as I hoped, to achieve the look I wanted, I have had to really push some contrast, this naturally increases the noise to signal ratio. If I could go back and do it again, the main difference I would make is to try exactly the same, but with iso 3200. In post-processing, I have controlled the noise as best as I can, but I wouldn’t print this. But it is quite an achievement considering the very low light conditions.
High iso noise reduction?
Yes. This is a useful feature that is common in newer DSLRs. I would recommend turning it onto auto if you are going to use iso values greater than 1000 iso.
Long exposure noise reduction?
I don’t use it in cold conditions. What it does is takes the same exposure with no light hitting the sensor, it then subtracts the difference from your photo. The difference is heat spots on your sensor from the extended use. In cold conditions, I find this a wast of time because the sensor is not allowed to heat. I have told everyone on my Winter workshops to turn it off and I never have complaints. If you are concerned, you could take a similar exposure with a lens cap (and cover the eye piece). There is a photoshop technique which can then apply the noise reduction to any noisy shots, but I tell you, you are wasting your time in cold conditions.
Recommended for Long Exposures
This range of DSLRs from Canon are able to shot with high iso settings and produce good quality photographs.
Canon EOS 5D Mark IV |
Canon EOS 5DS R |
Canon EOS 6D Mark II |
Canon EOS 90D |
Under-Exposure
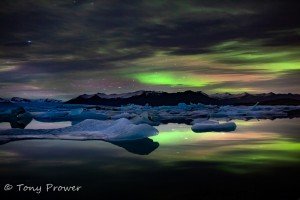
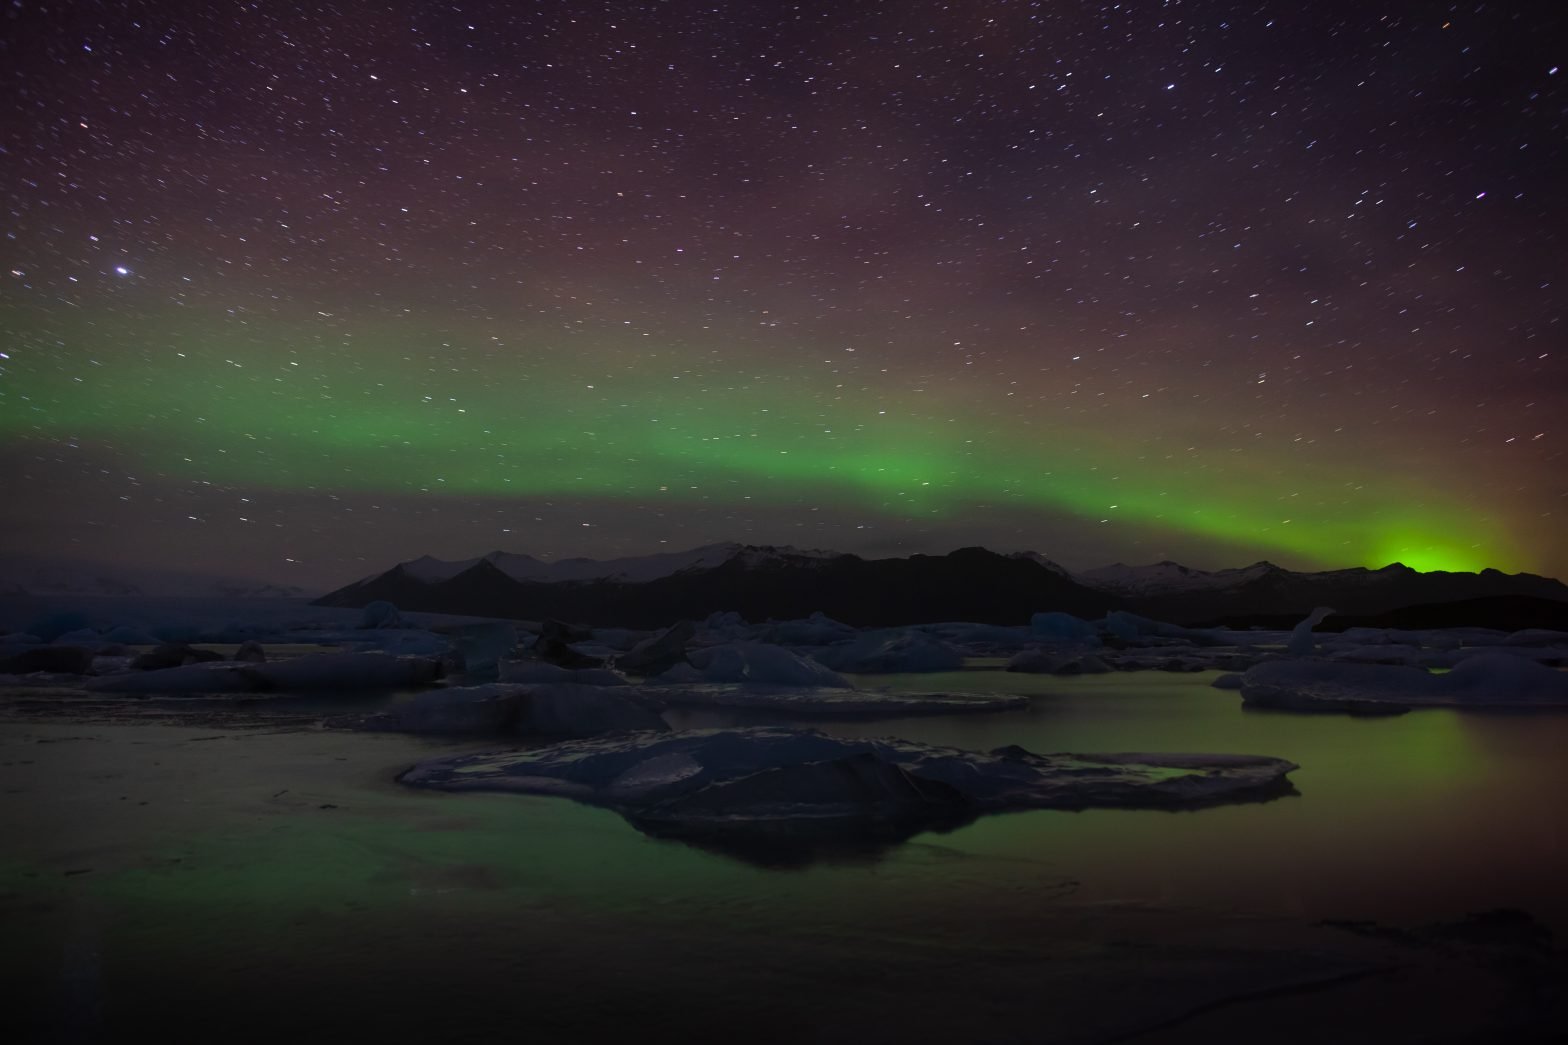
Exposure is the single most important consideration in Night photography basics. Having a good exposure is your best chance of controlling noise. The biggest mistake I made was to rely on my preview screen on the back of the camera. I had just fulfilled my ambition to photograph the northern lights above the floating icebergs on the glacier lagoon. The pictures on the back of my Canon DSLR in the darkness of a new moon wilderness looked like a dream with fantastic colours and I could see the ice. I uploaded to Lightroom as soon as I got home to Reykjavik and was so disappointed to find that they were too dark to publish. This is simply because your eyes are so sensitive when you check your image in the dark, that the preview screen appears to be several time brighter than it actually is. What you need to be seeing on the back of your camera in the dark, is an image that looks almost over exposed. If it is possible, turn down the brightness of the preview screen. Keep checking the Histogram to make sure they are not actually over-exposed. The histogram mountain should creep over the half way point towards the highlights, but without a build up on the right of the histogram. This depends on conditions because the moon or street lights could leave a significant build up of dead highlights and still be an acceptable image. Stars will create dead highlights, but this is difficult to see on the histogram.
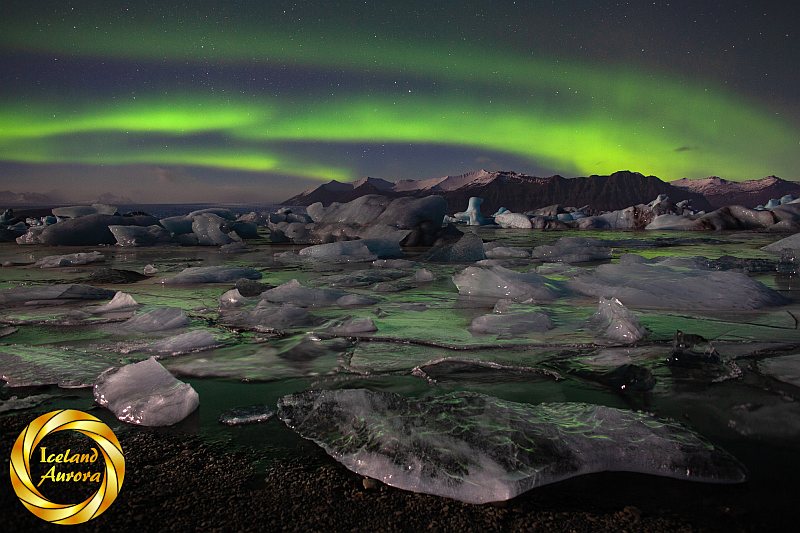
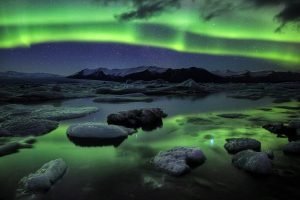
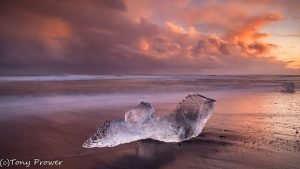
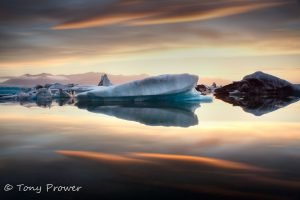
This shot has a lovely, noise free foreground. This is entirely due to being exposed well. The sky has a short exposure less than 30 seconds to avoid star trails. The rest of the scene had up to 3 times as much exposure again. The good exposure level means that there is detail in shadow areas and in post-processing I can easily bring out colours with contrast curves without introducing uncontrollable noise.